Replacing the Foam From the Original Kit
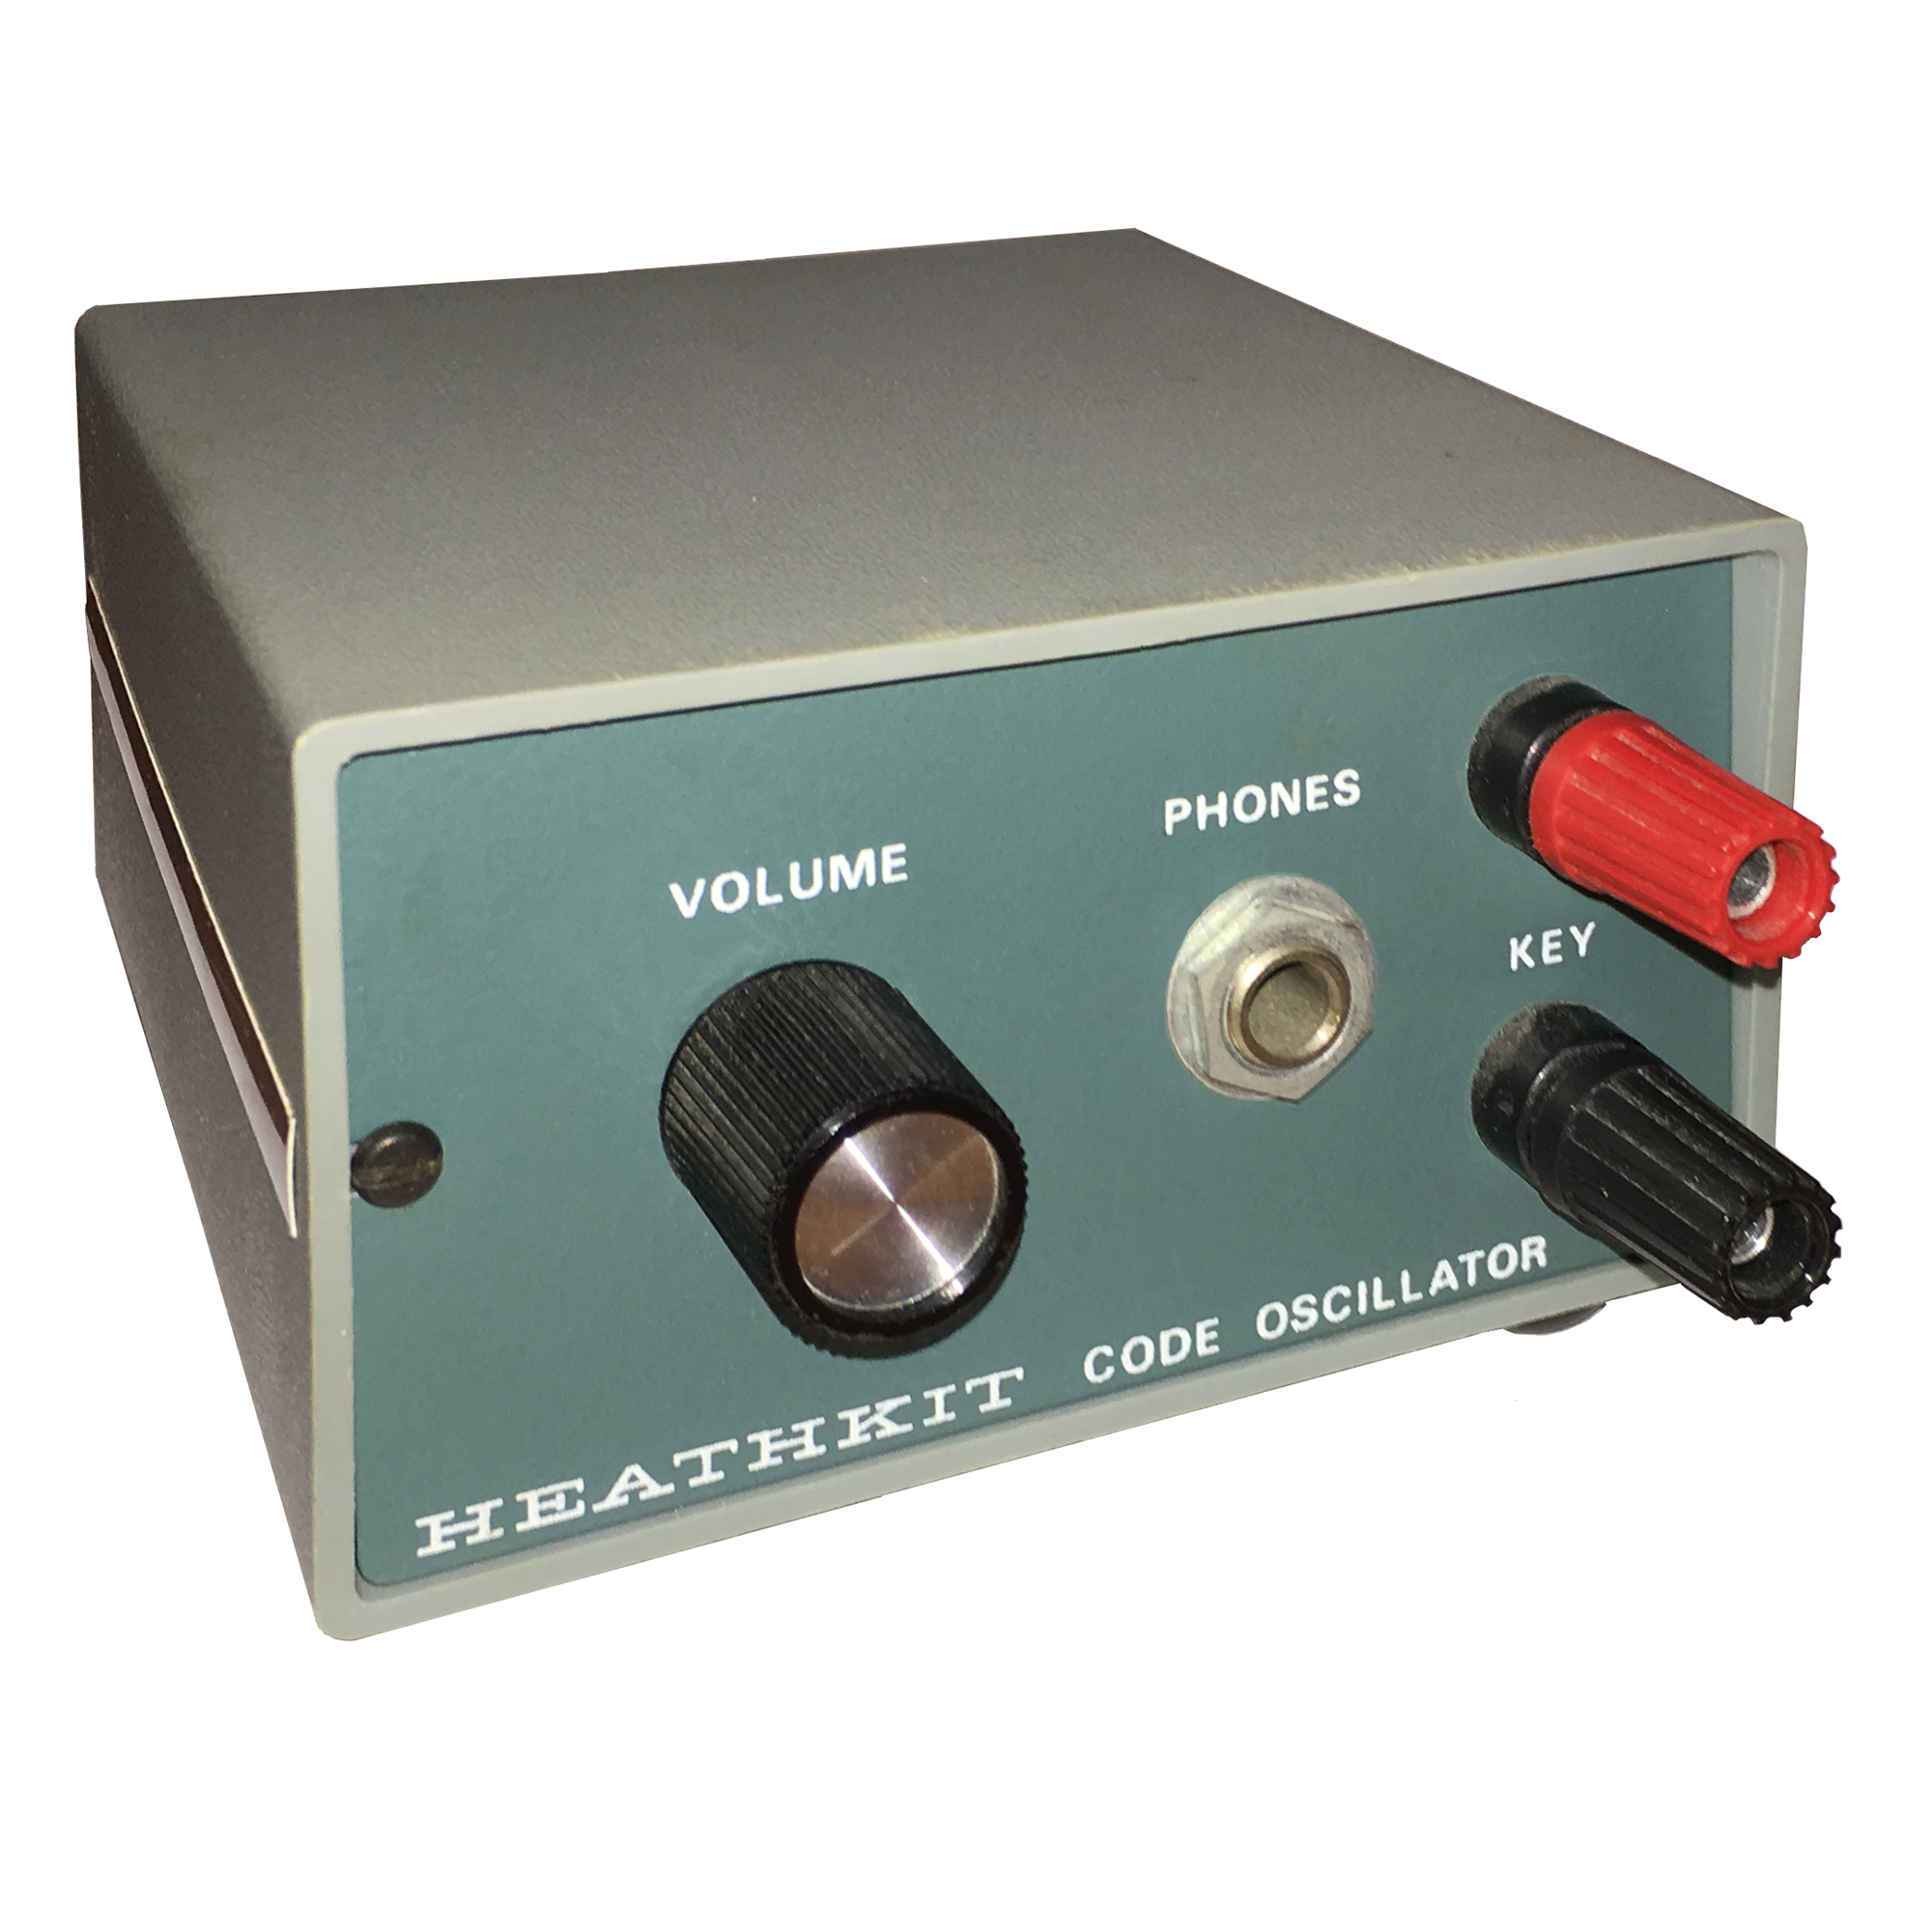
Heathkit HD-1416 Morse Code Oscillator
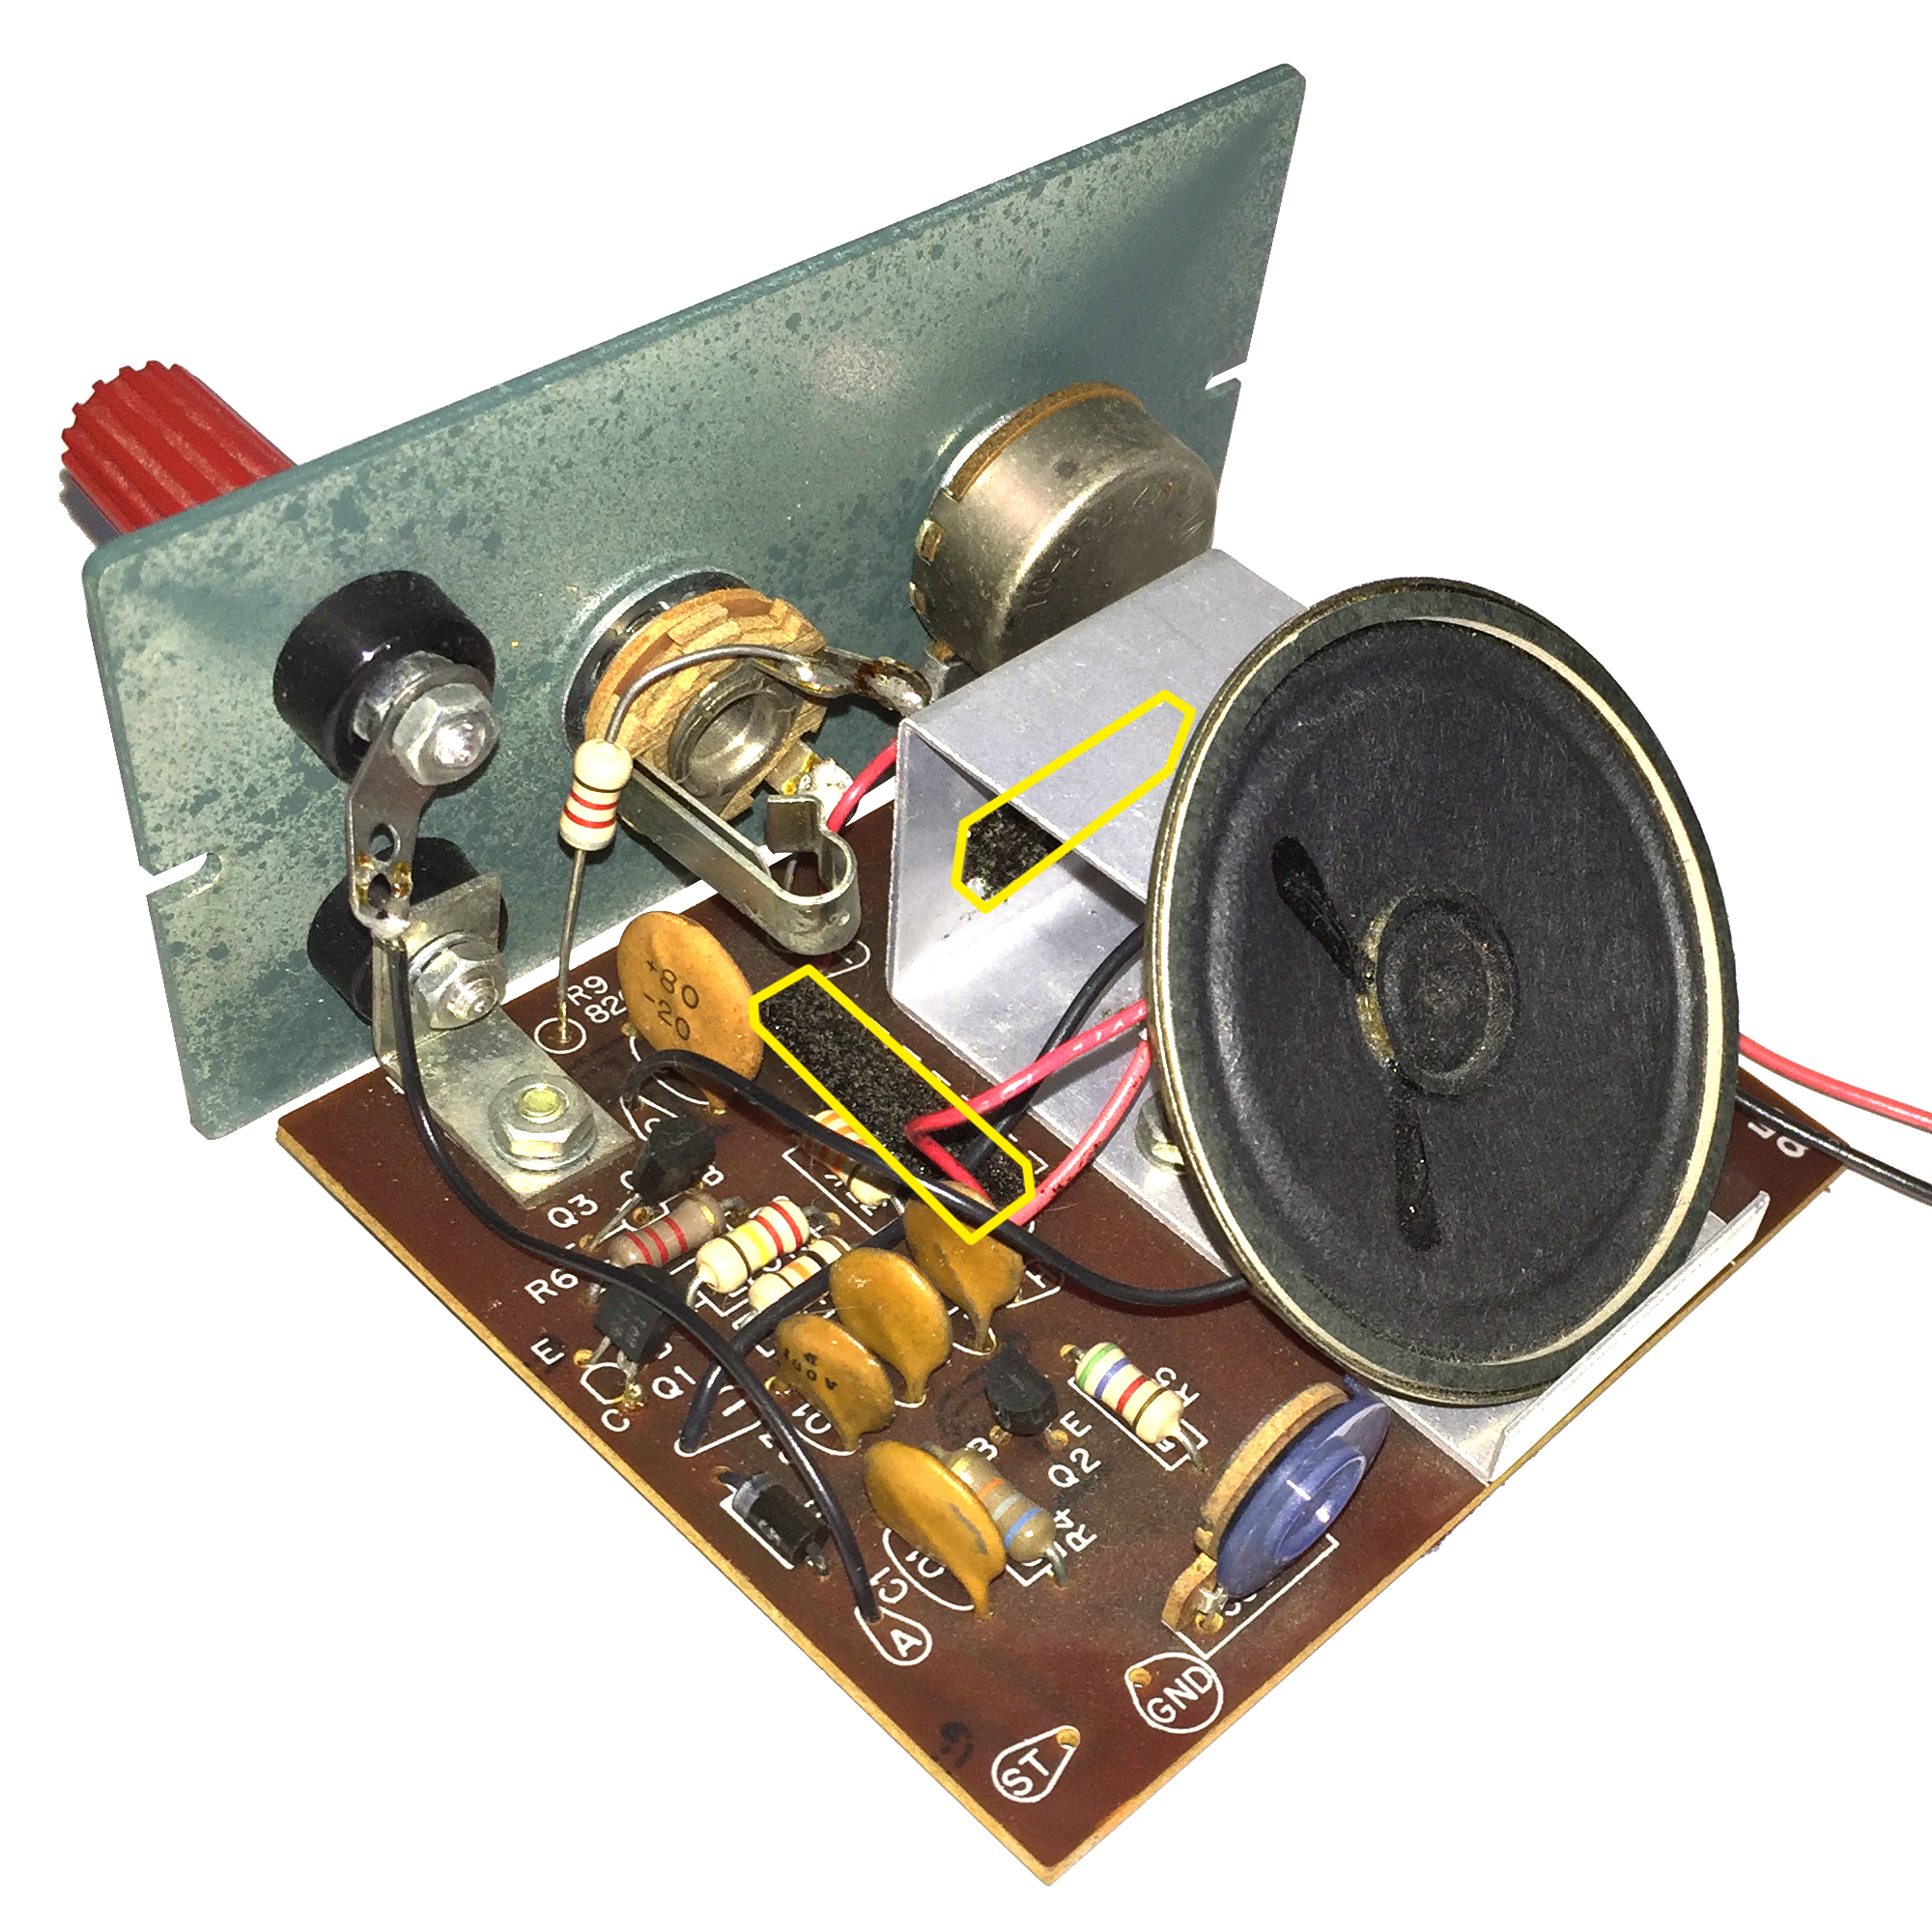
A view inside showing two locations with deteriorated foam. Here, and in the next several images, the bad foam is outlined in yellow.
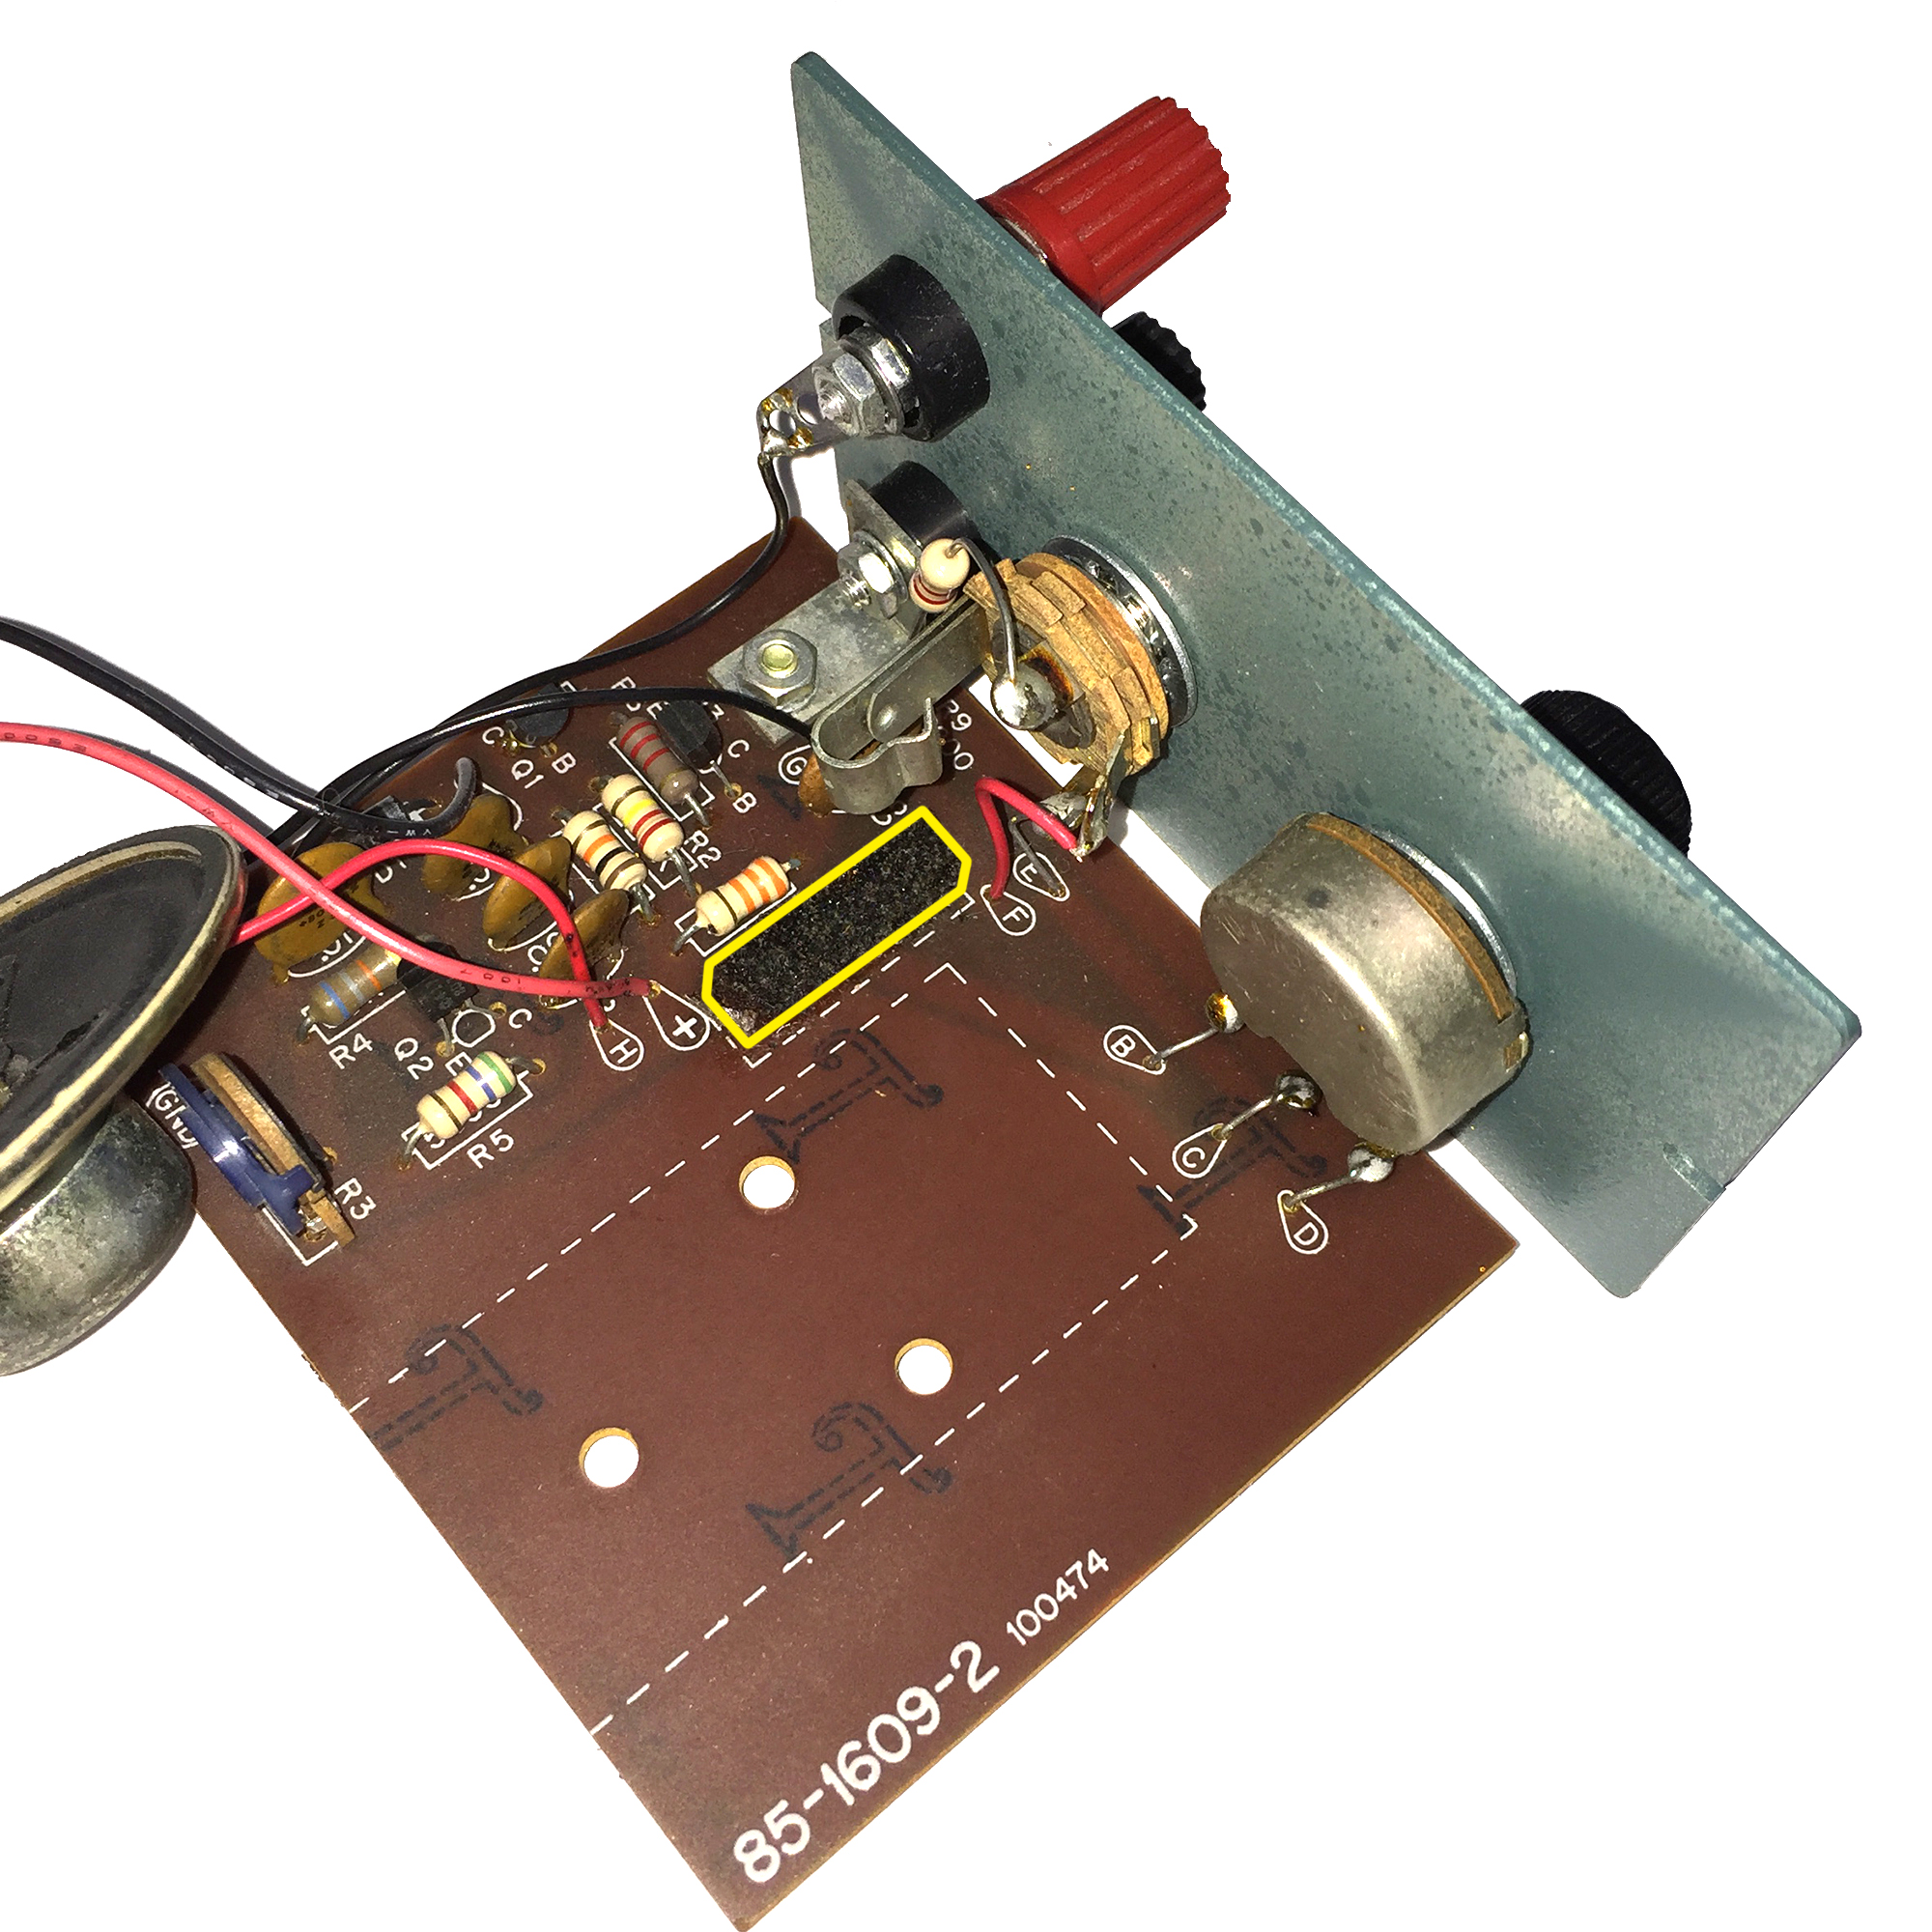
Bad foam on top of the circuit board, after removing the speaker/battery bracket.
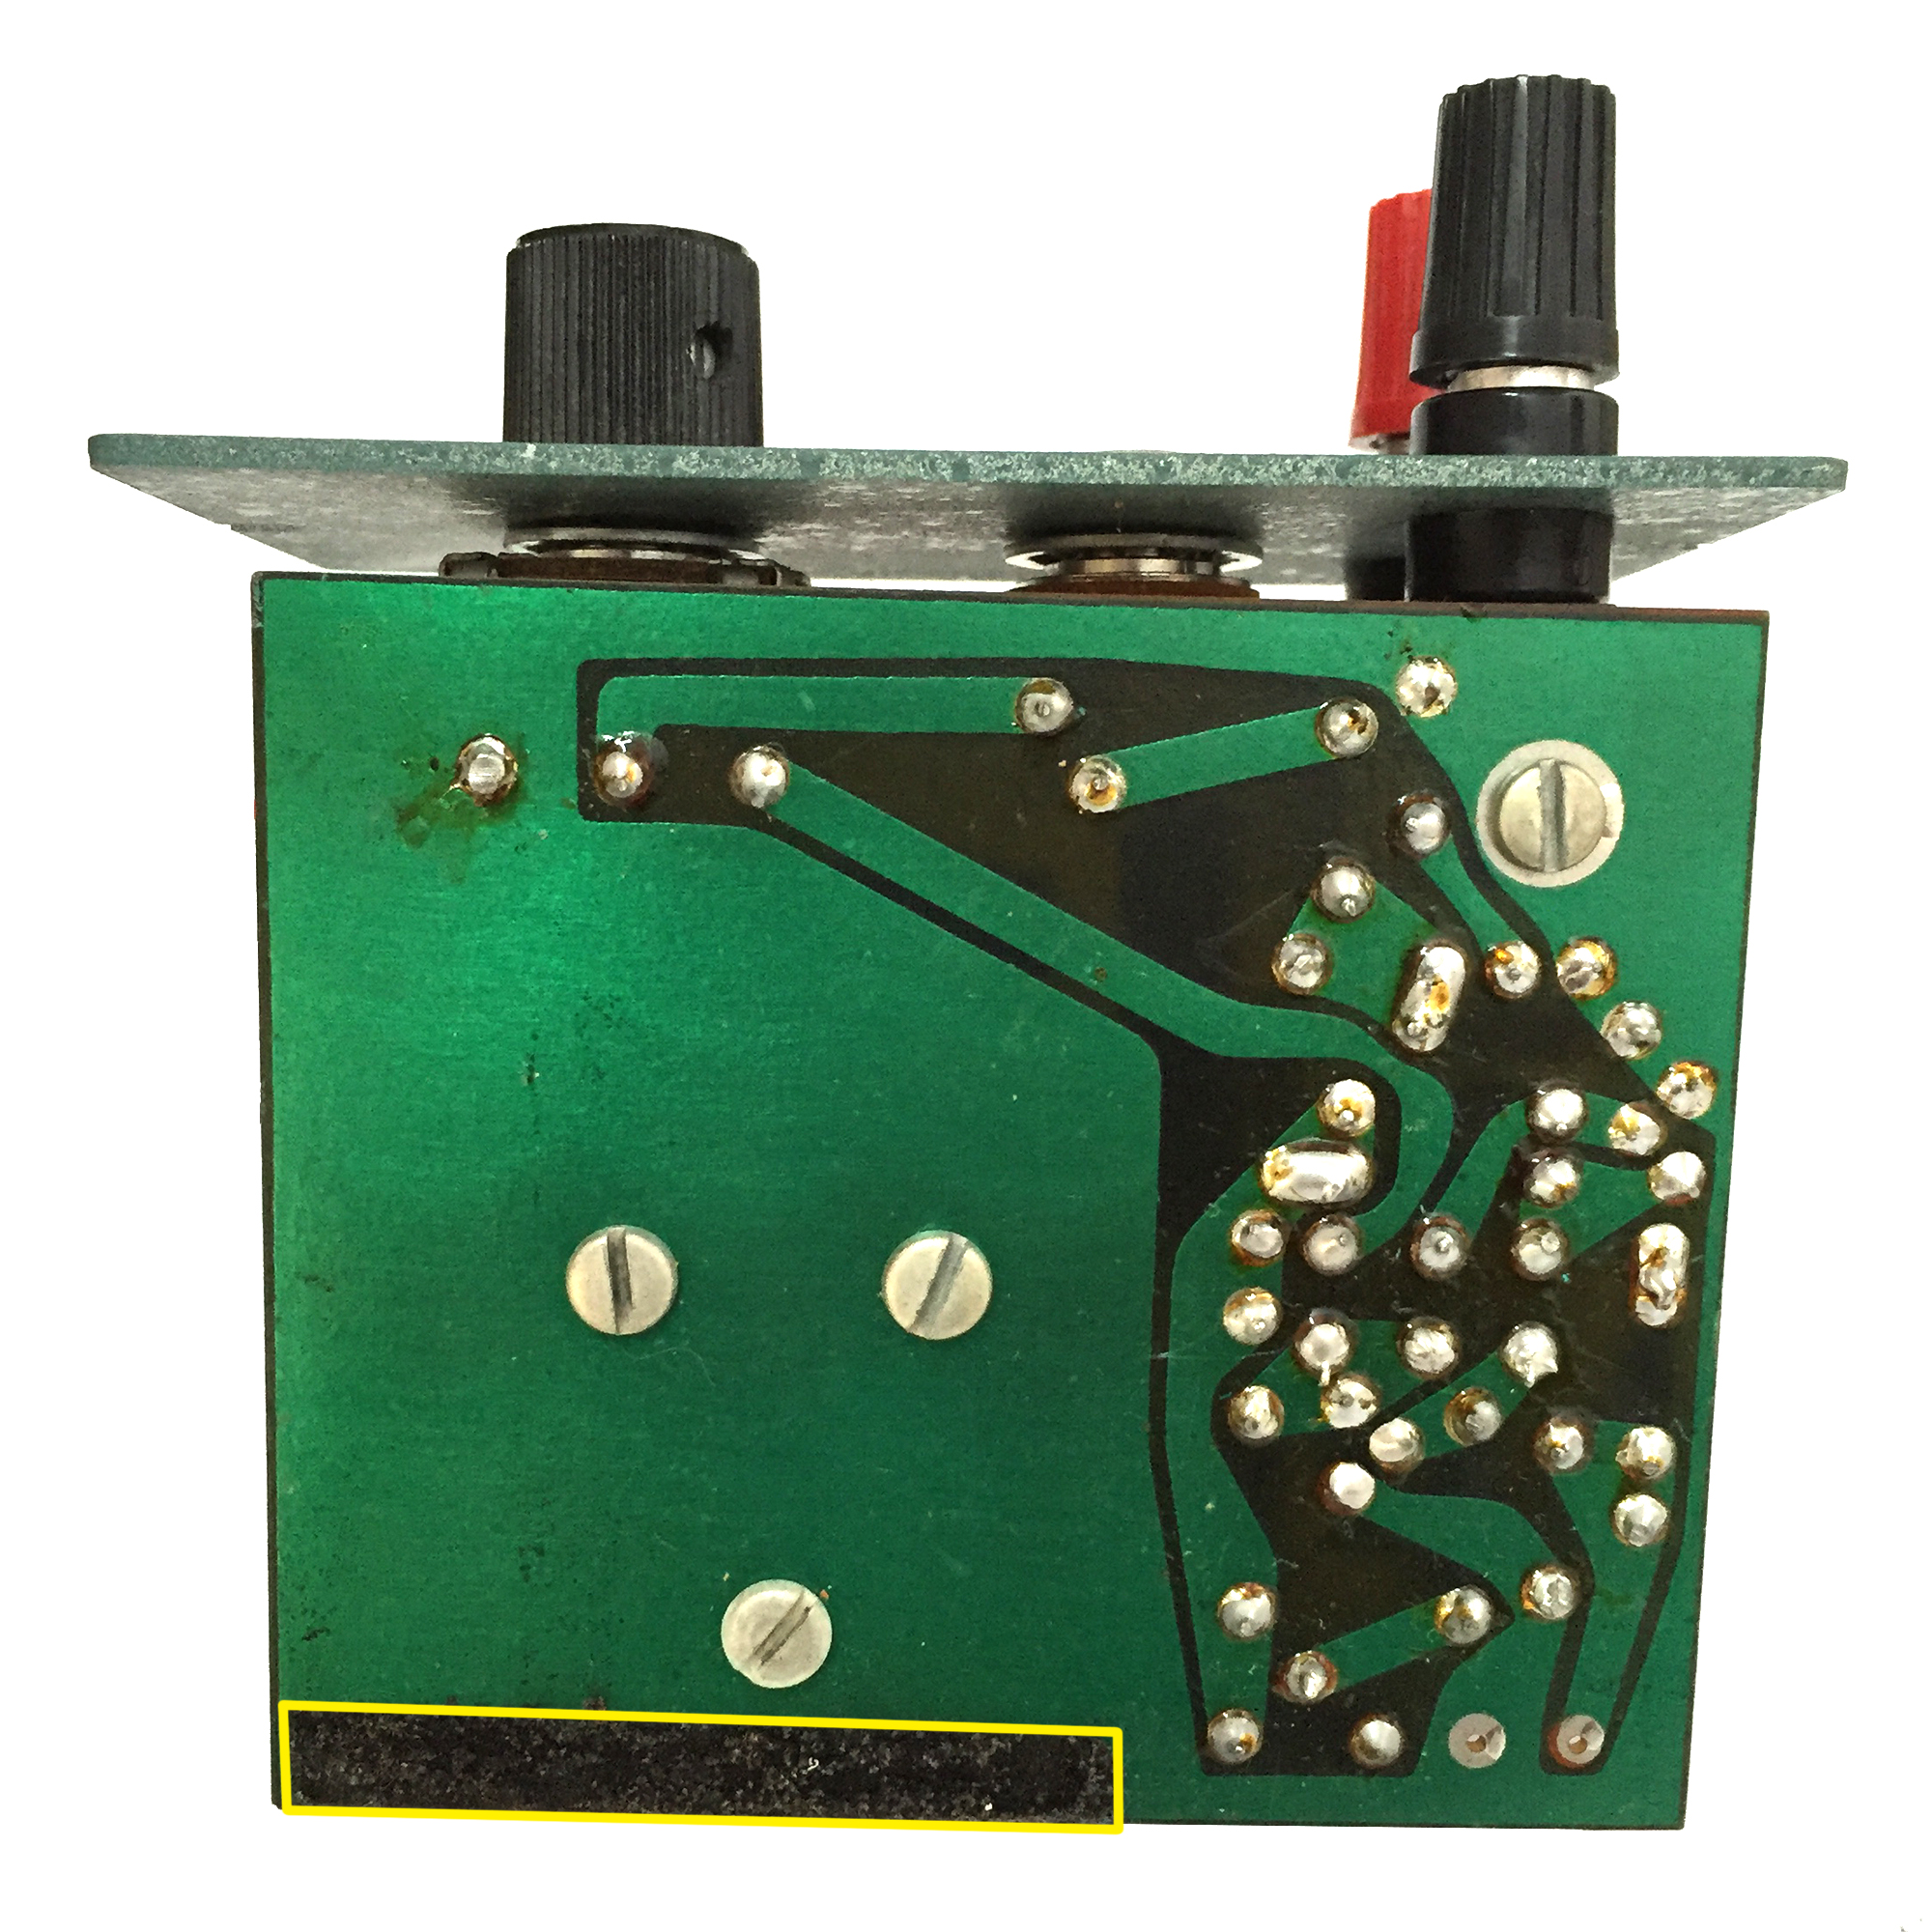
Bad foam on the bottom of the circuit board.
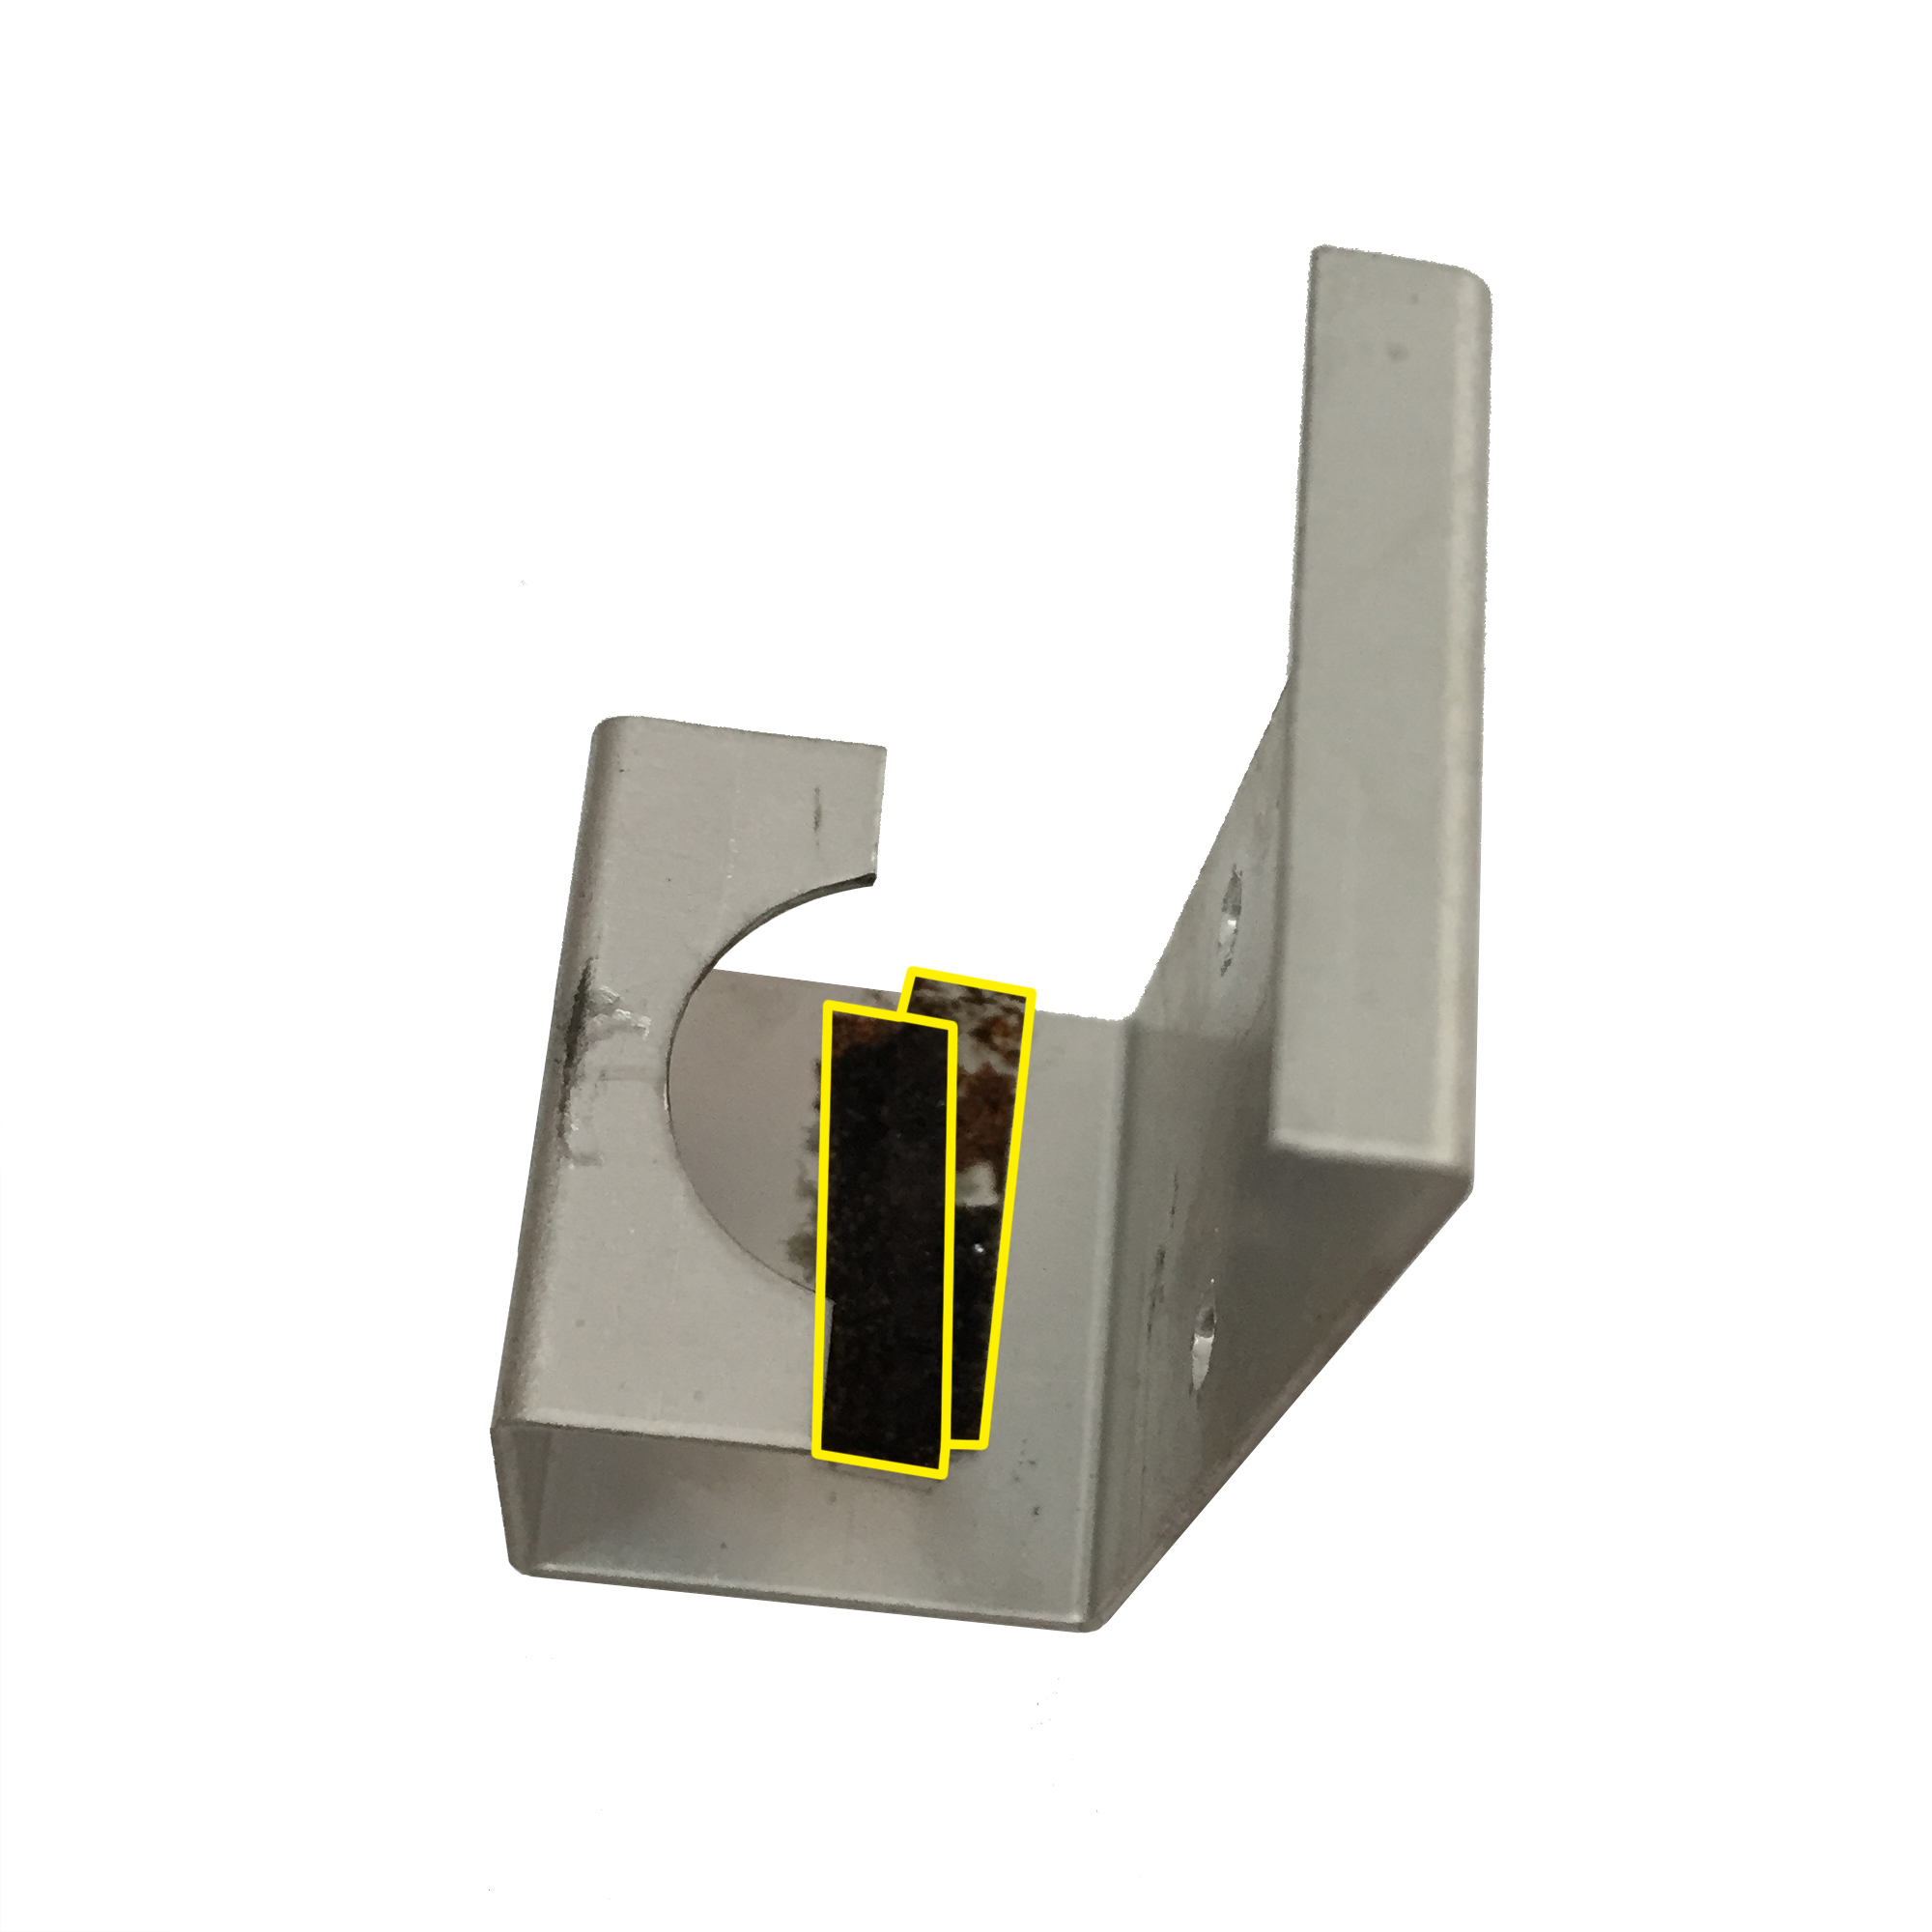
Bad foam on the speaker/battery bracket. The foam itself has separated and shifted (to the left, in this picture) from its adhesive.
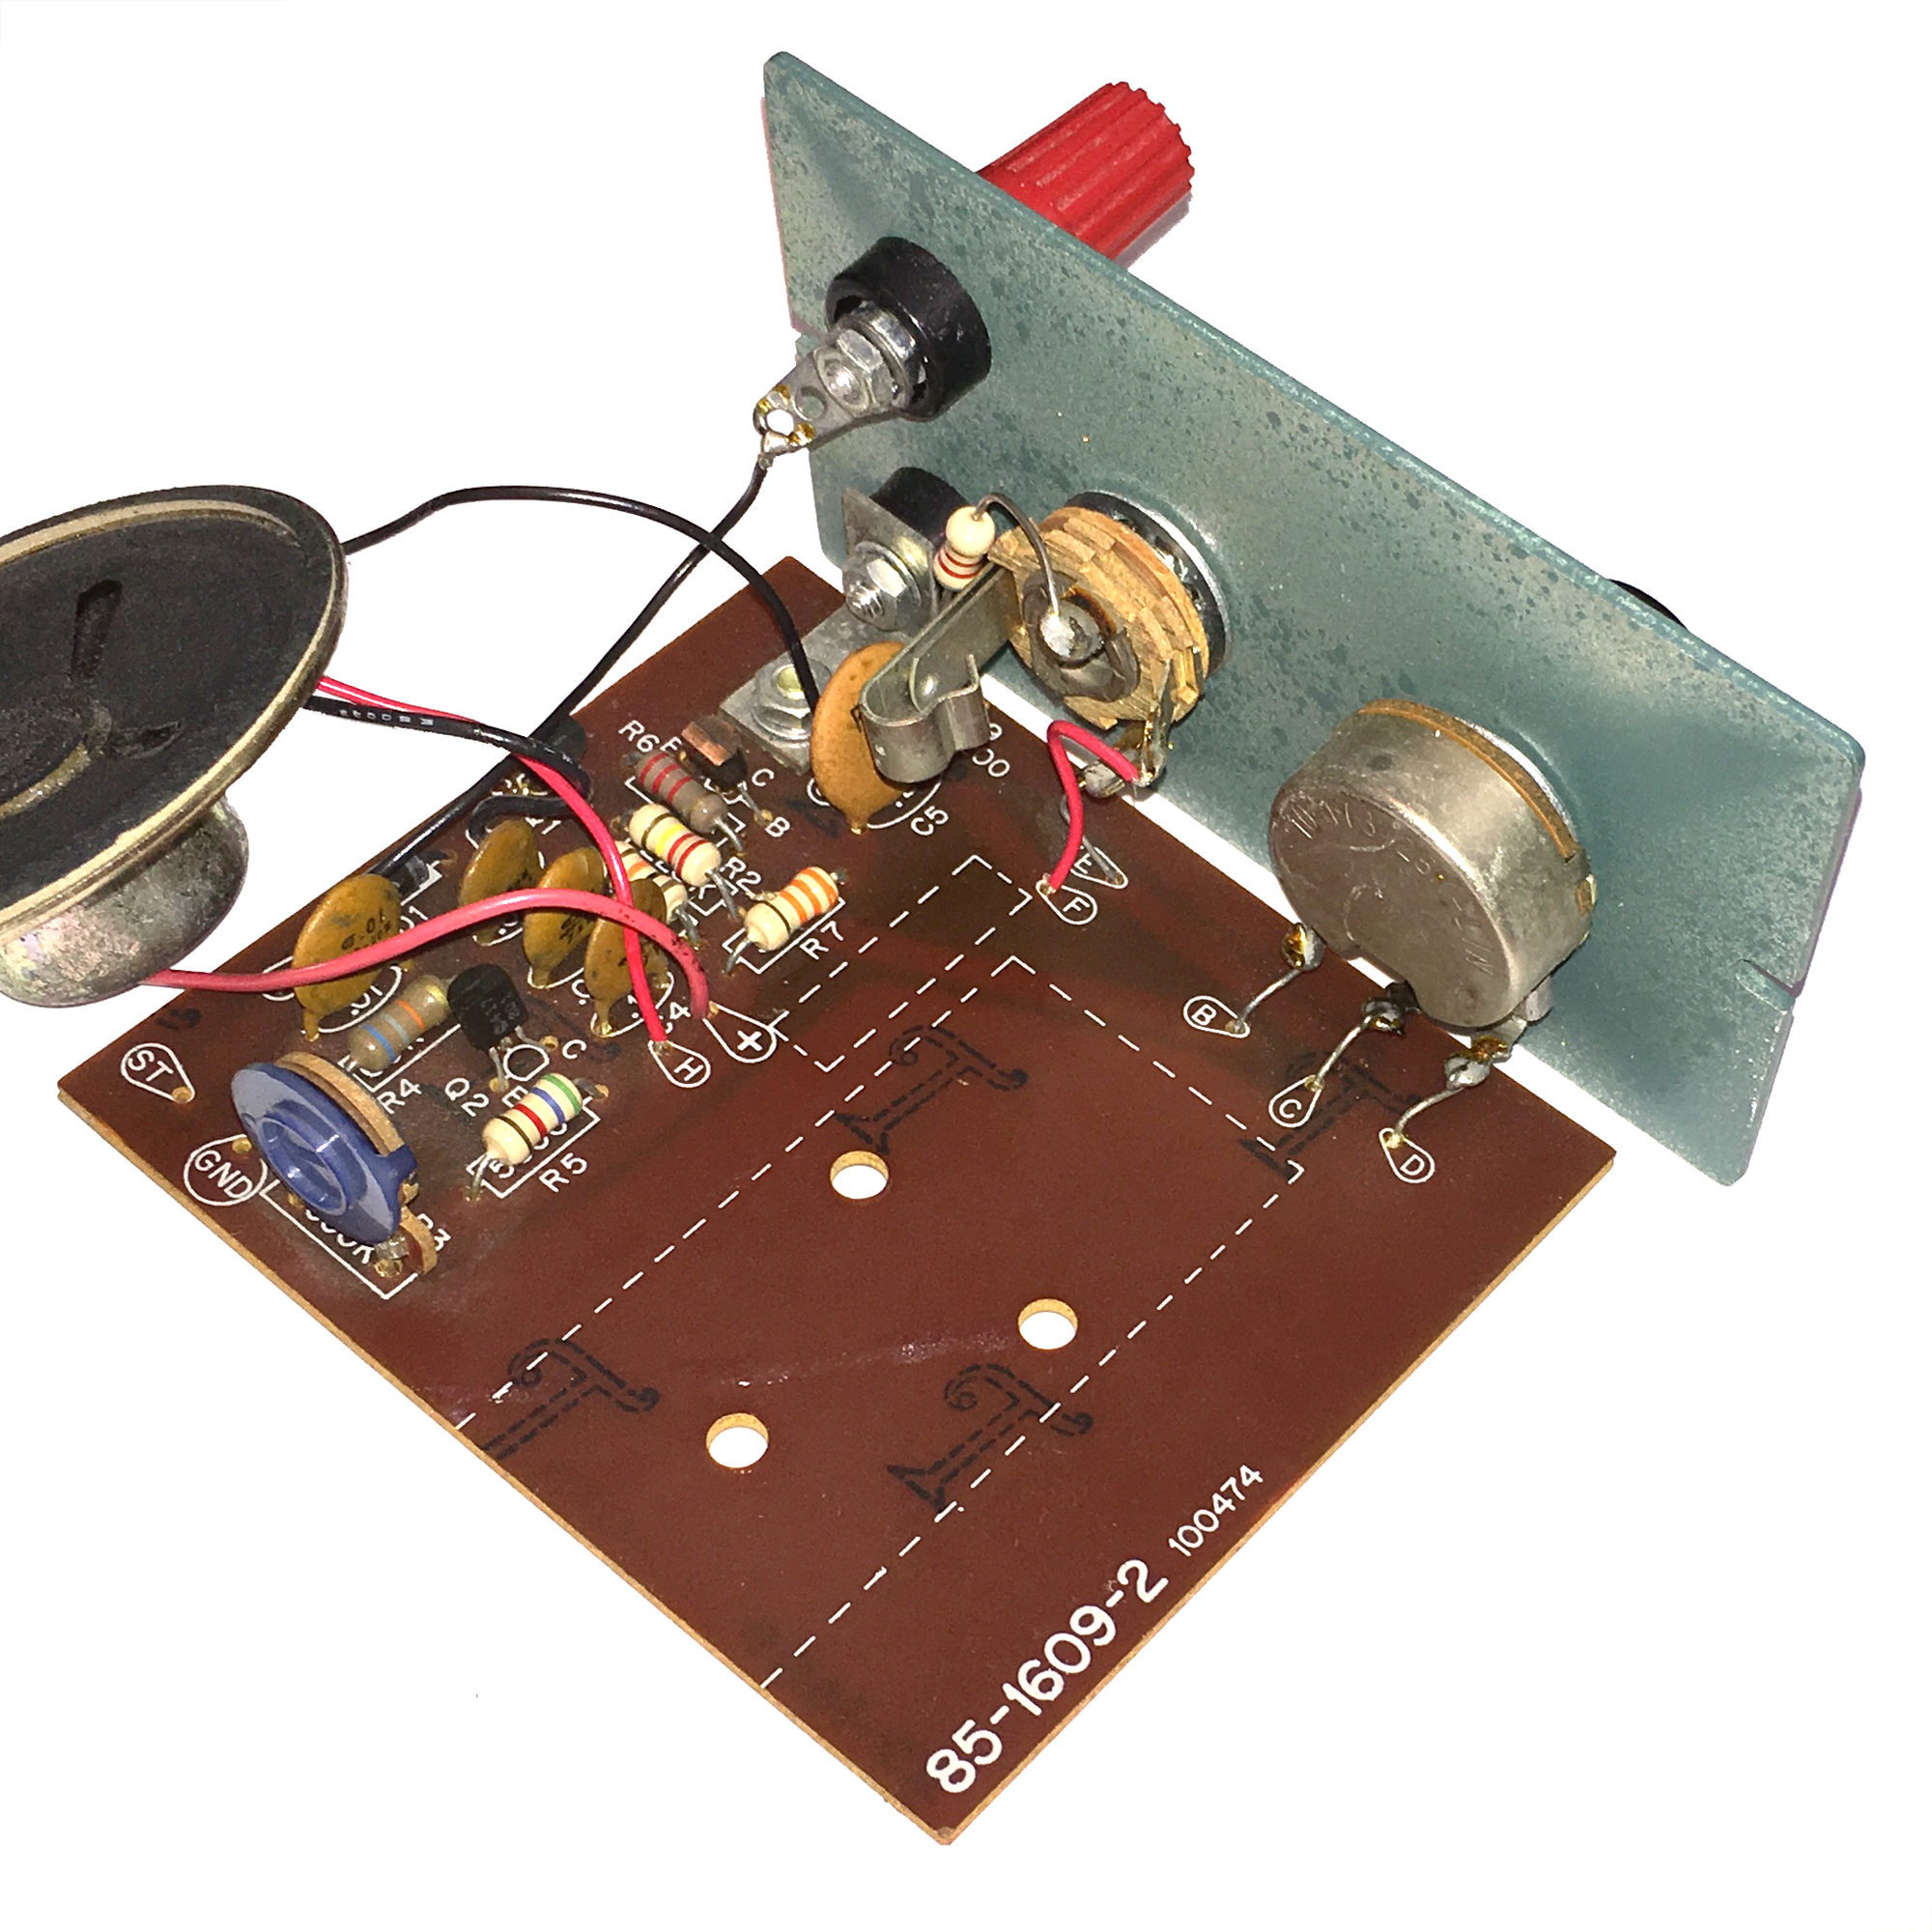
Top of the circuit board with old foam removed.
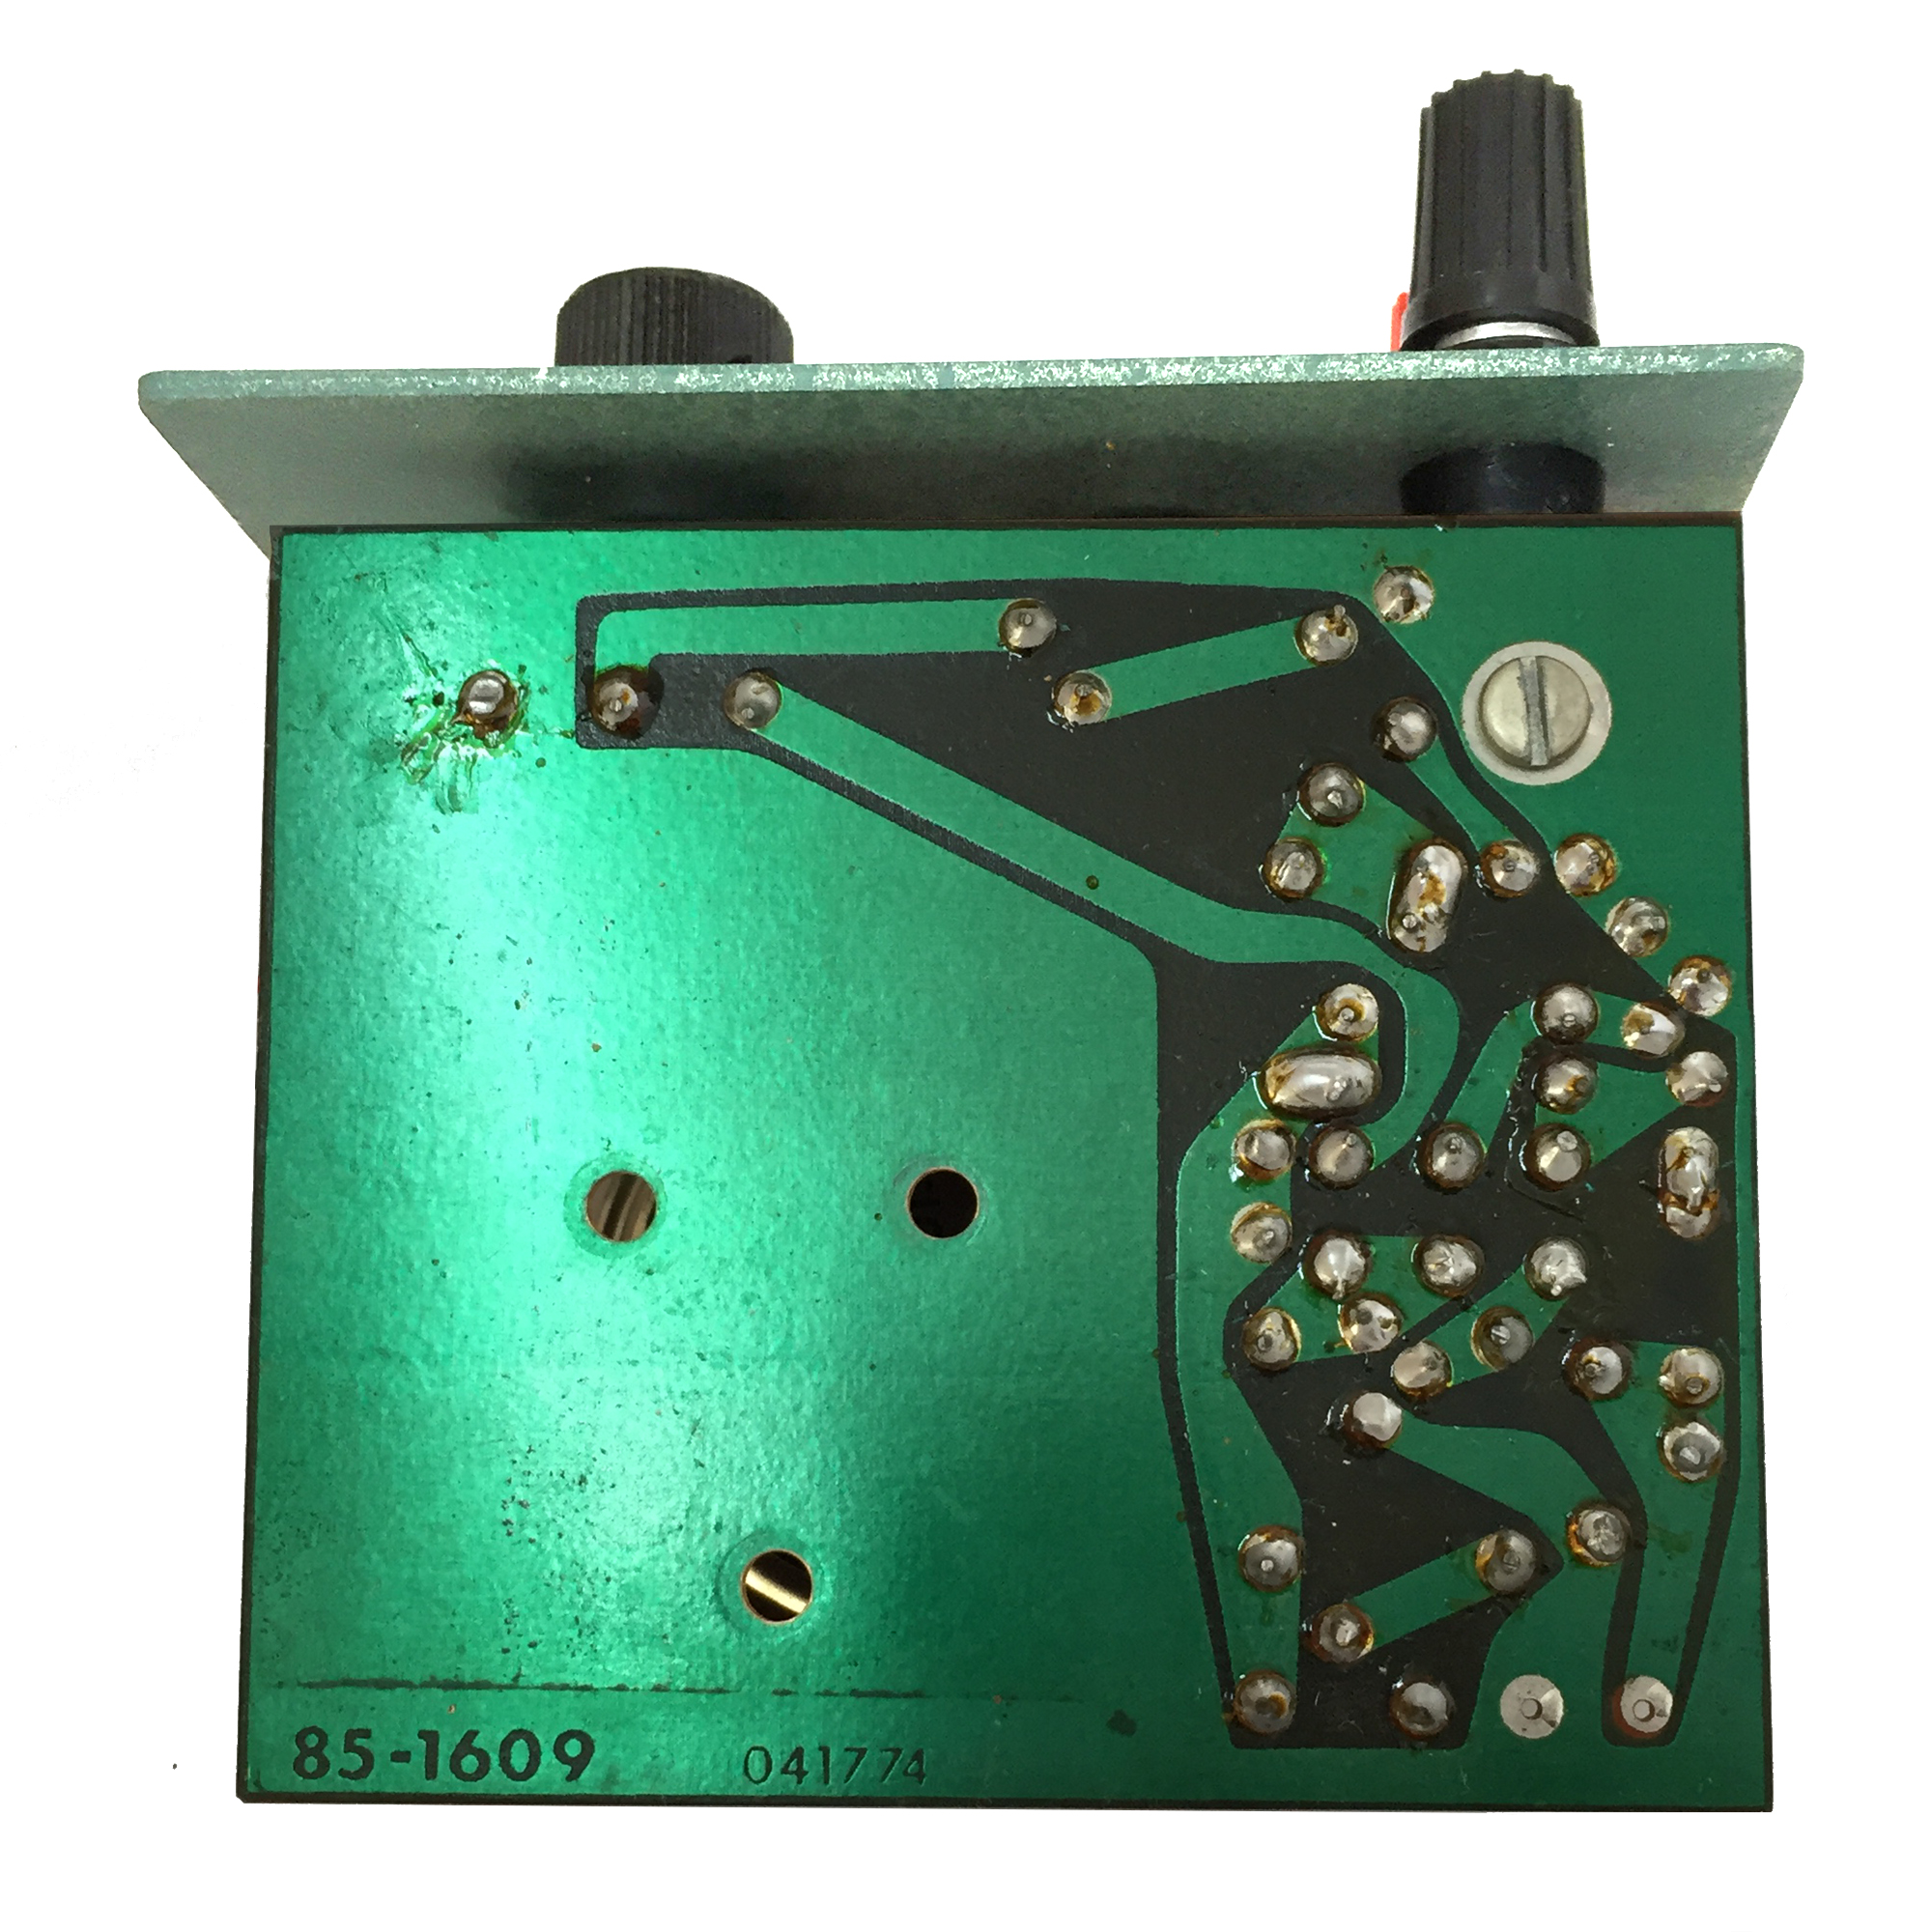
Bottom of the circuit board with old foam removed. The black line just above the numbers in the lower left is permanent discoloration.
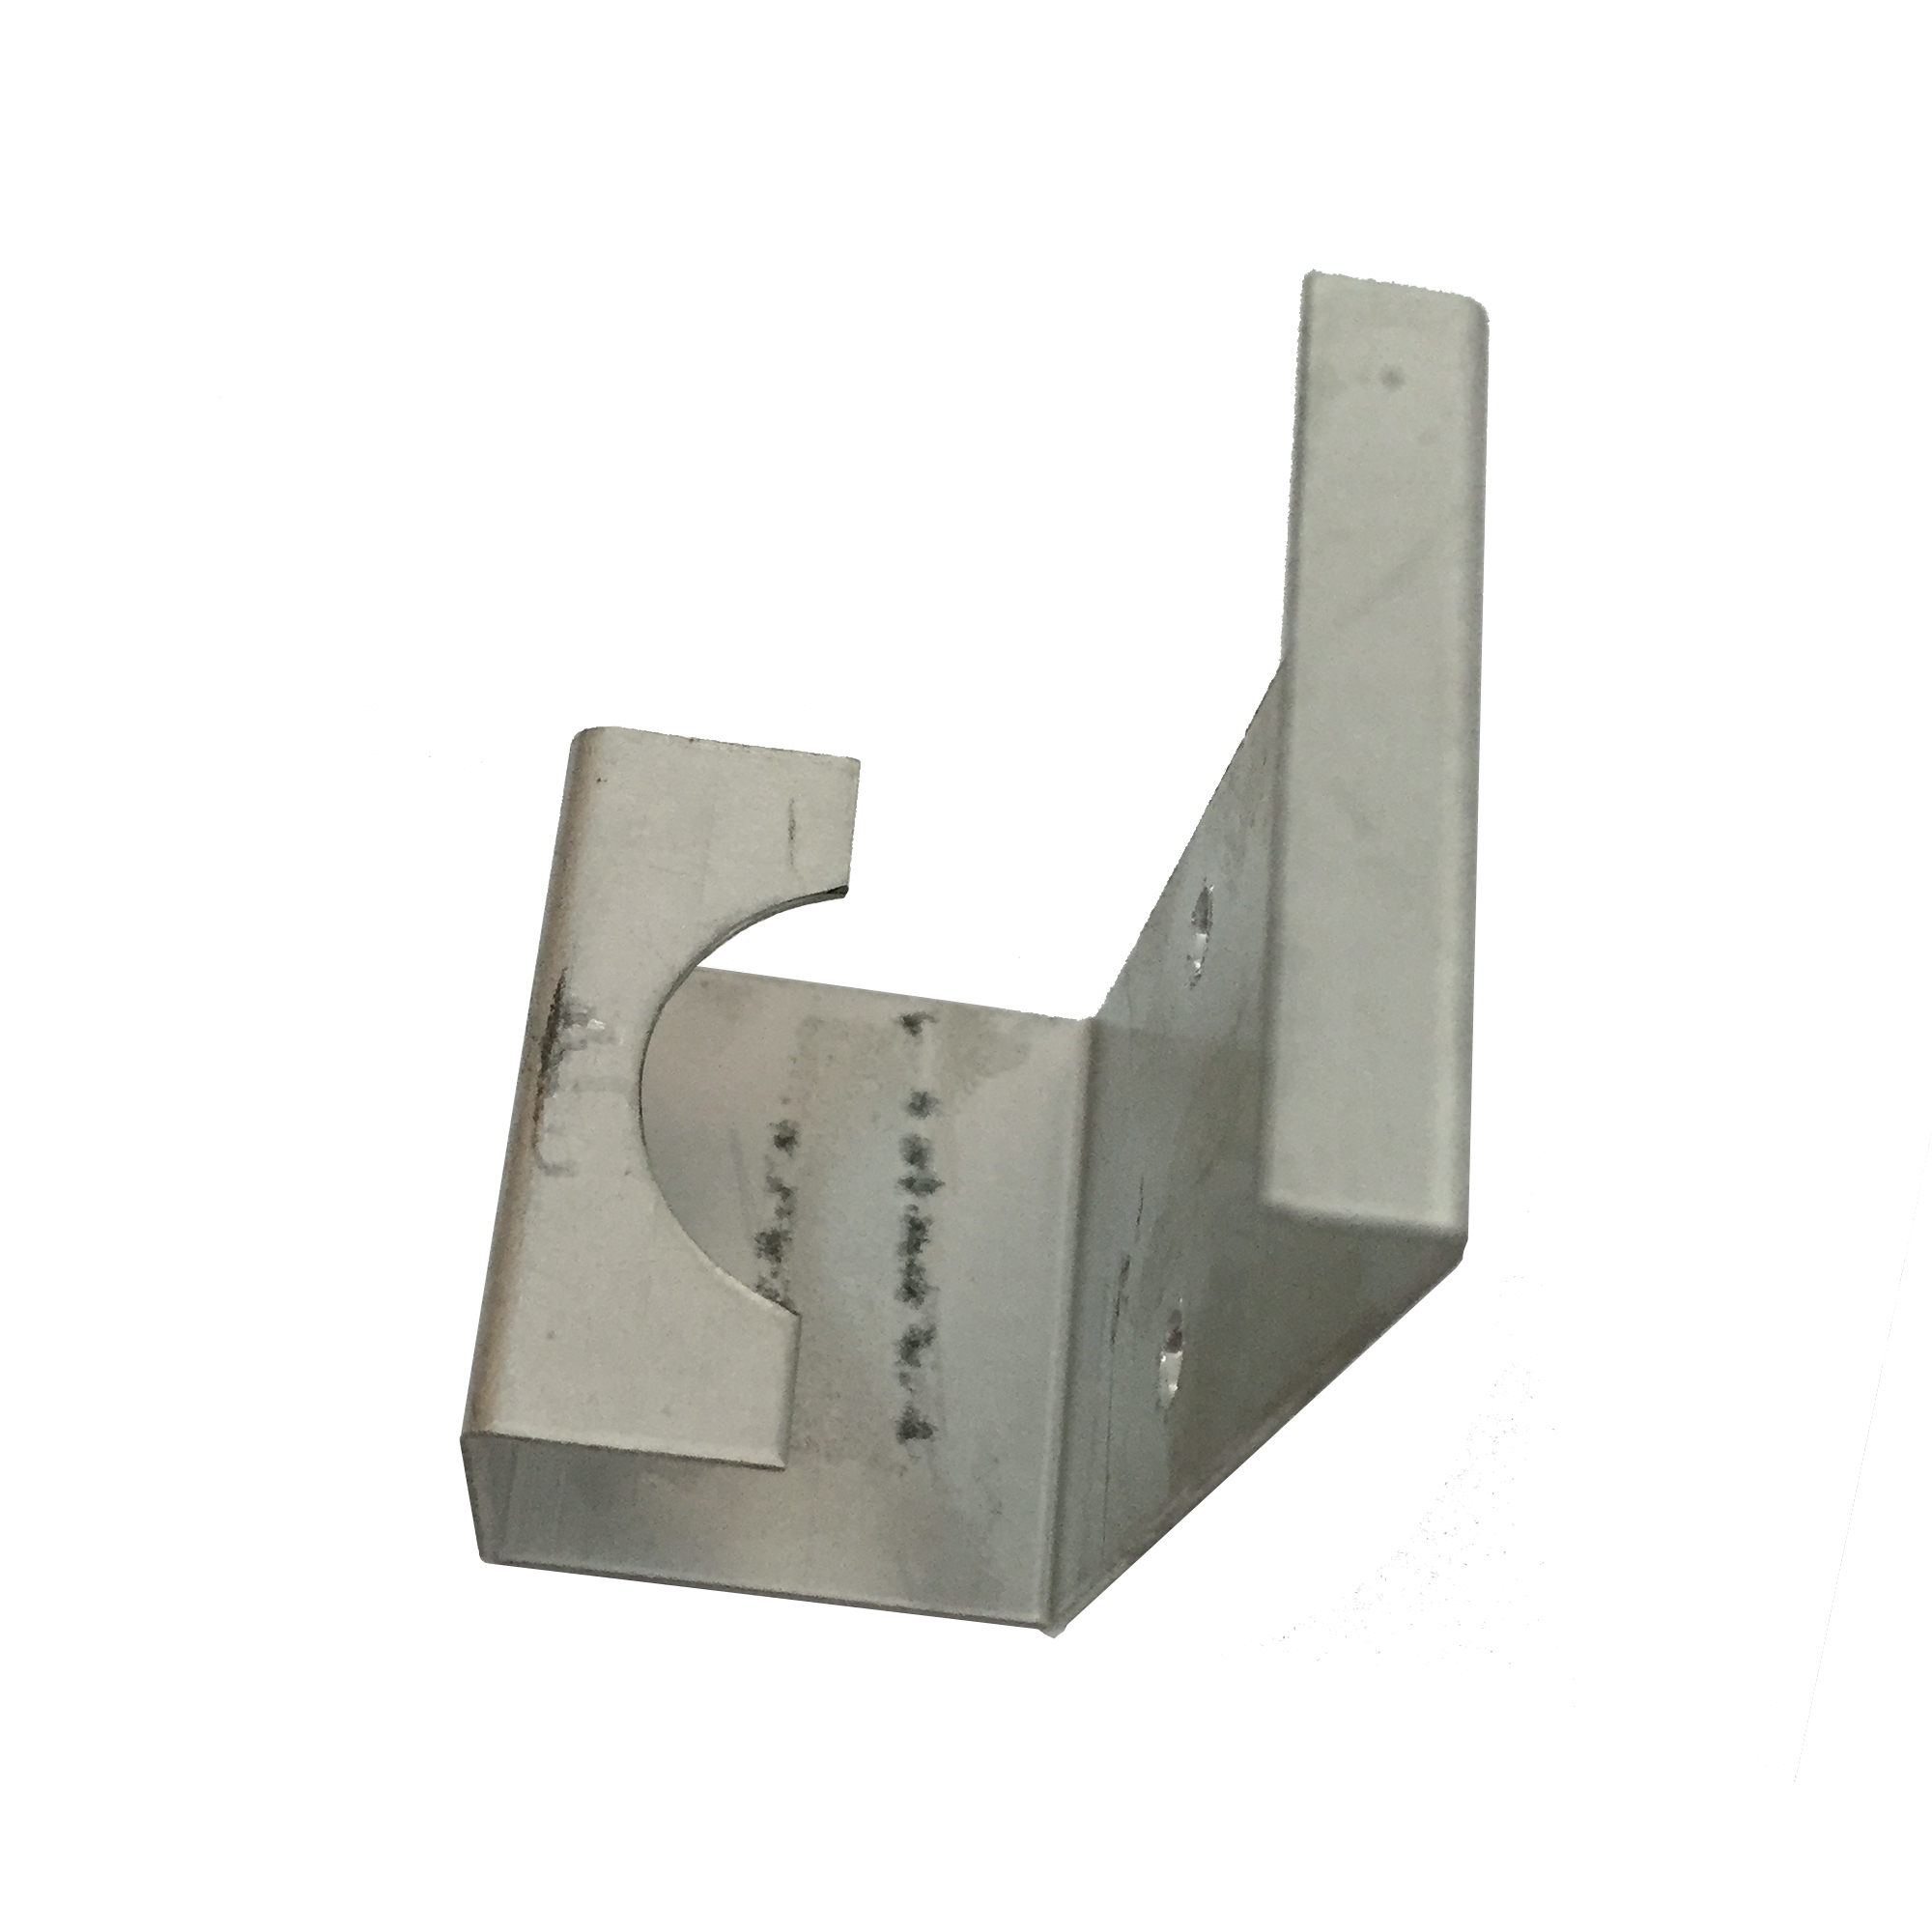
The bracket after cleaning. This piece also has permanent discoloration.
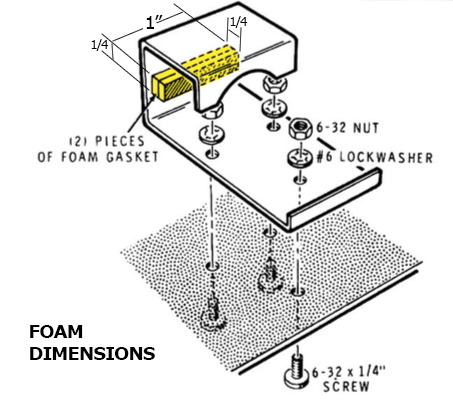
This image and the next are adapted from the original Assembly Manual. I've added yellow highlights and dimensions to the foam pieces.
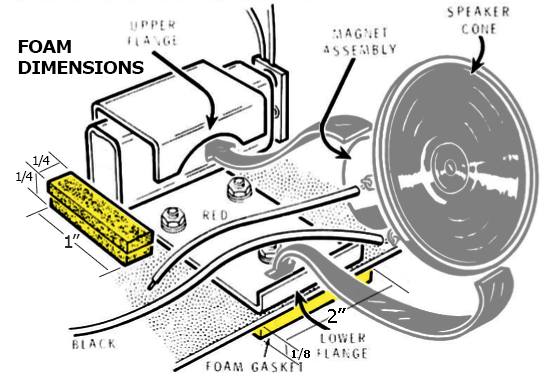
More foam dimensions and location information.
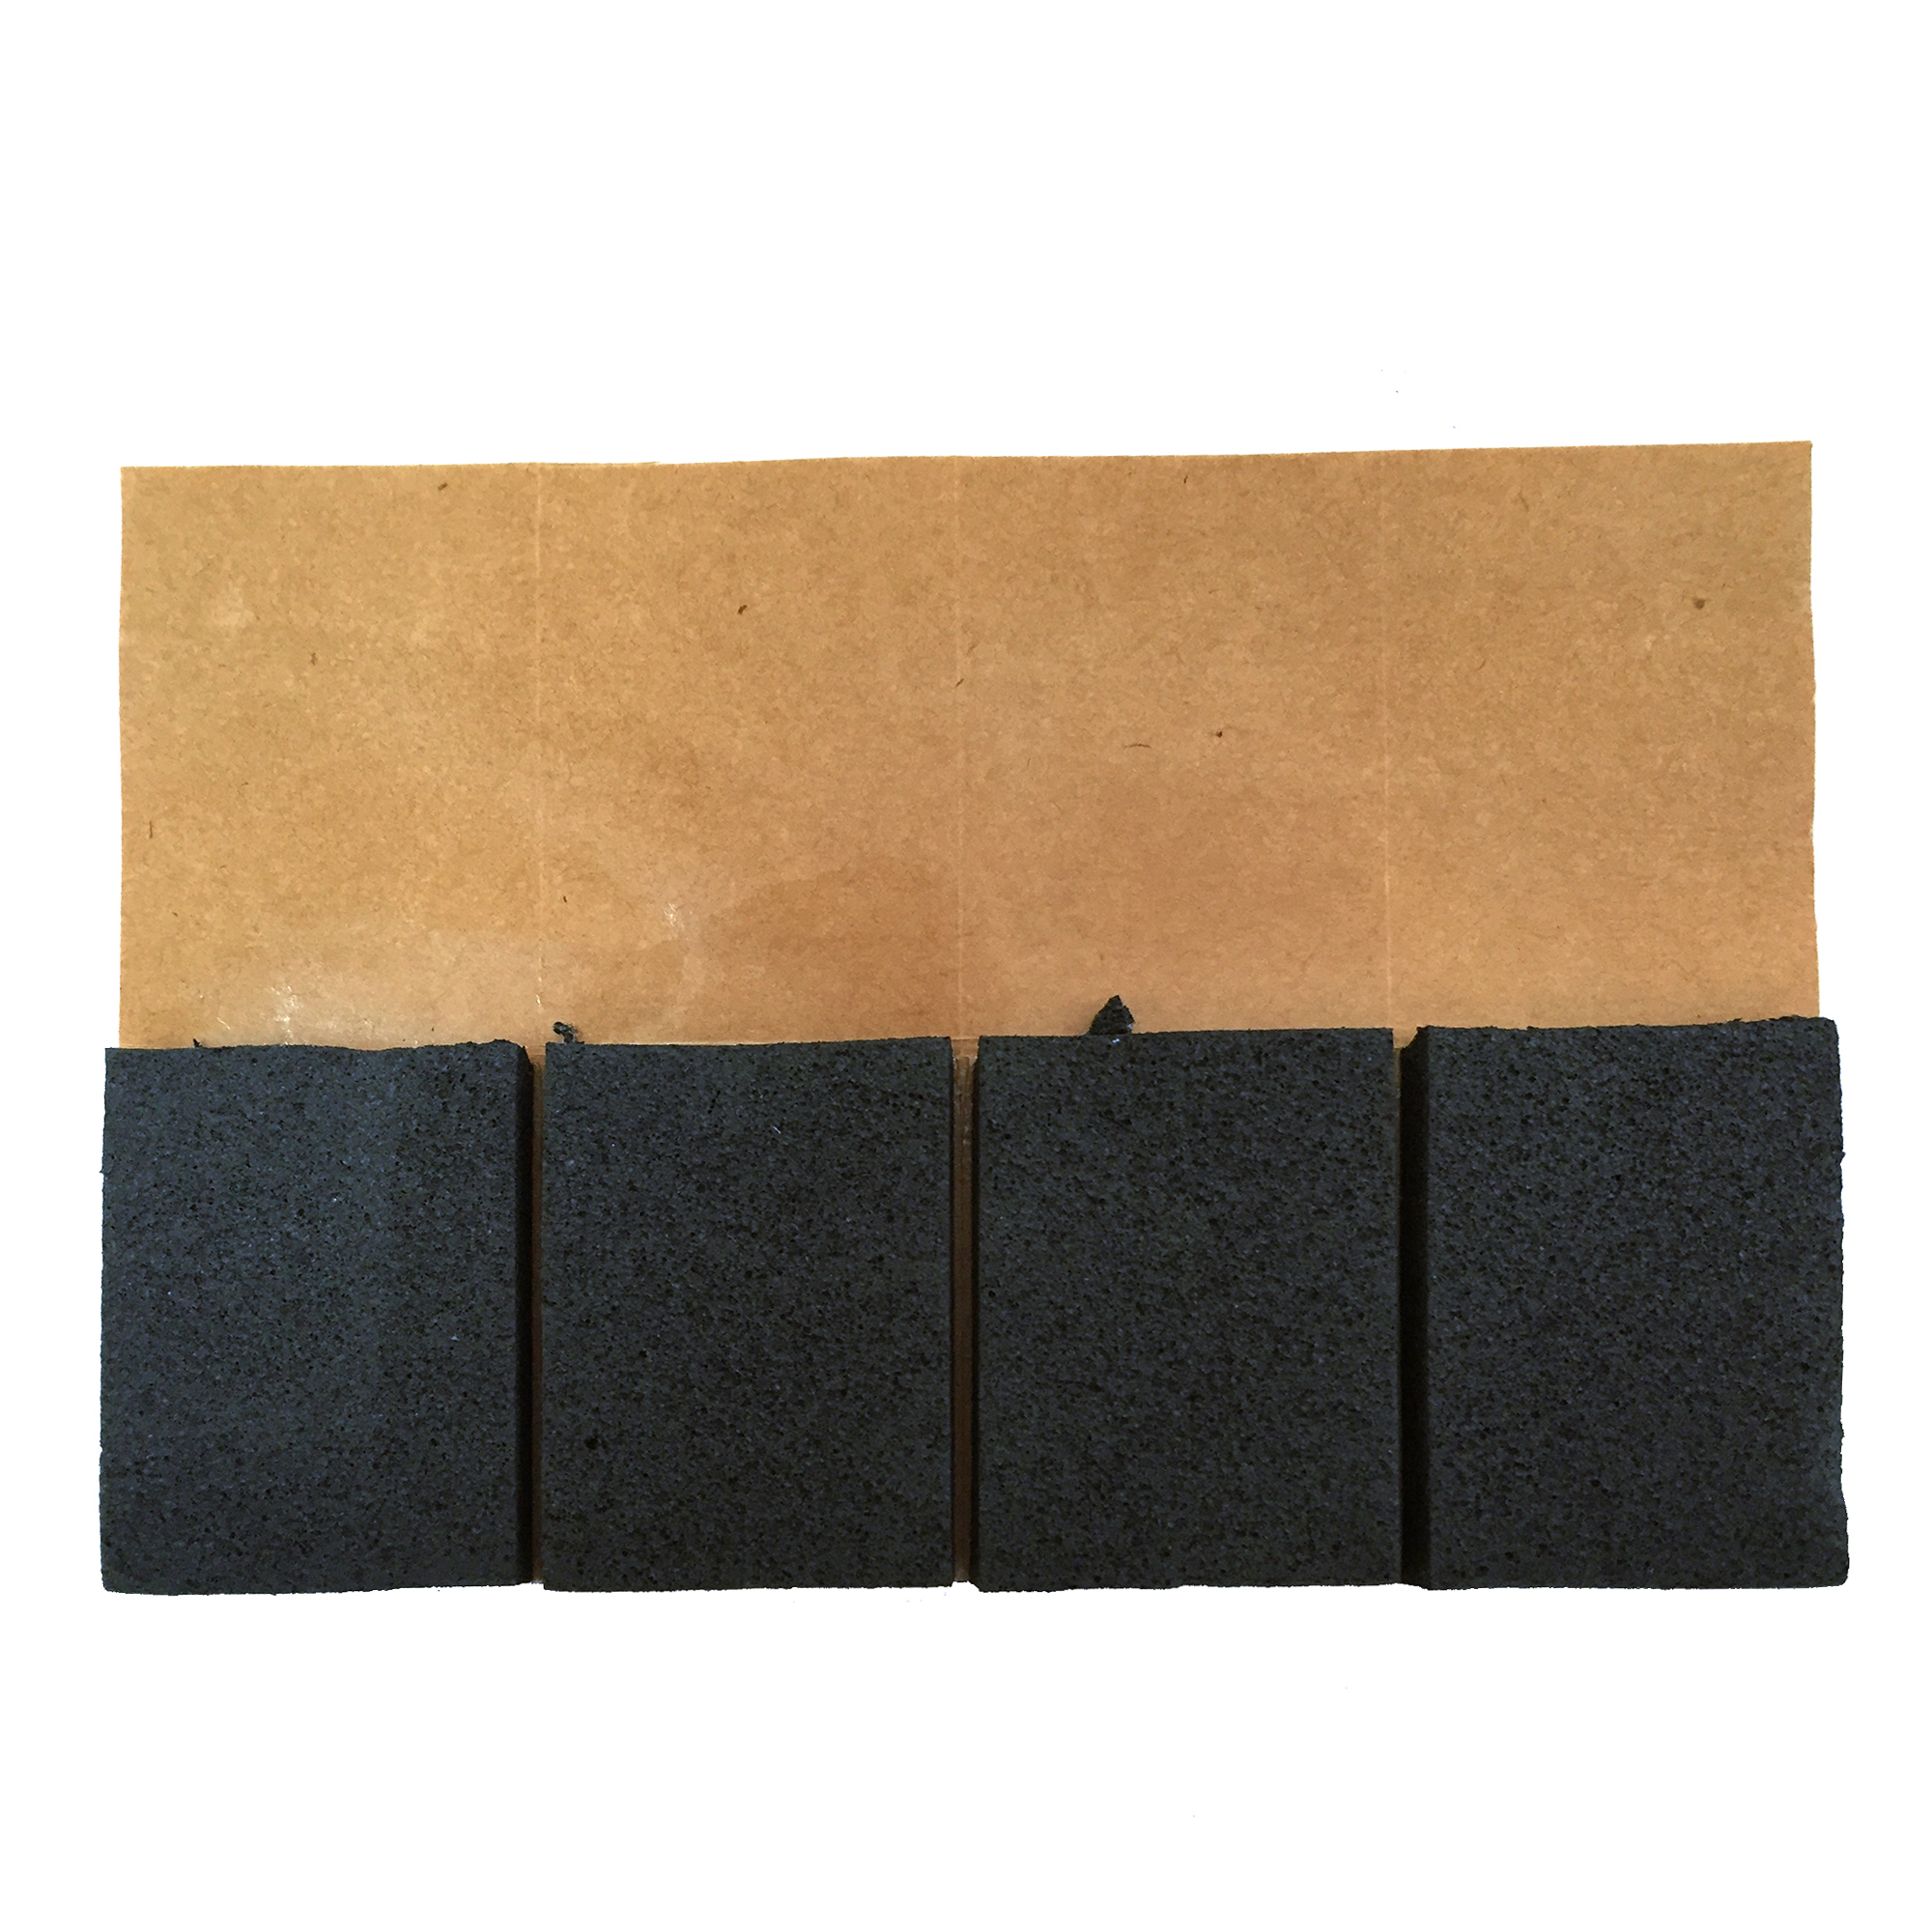
This is some self-adhesive-backed foam I found in my junk box, from which I'll cut replacement strips.
Each of the four pieces is 1-3/8 by 2 inches and 1/4-inch thick.
The thickness was perfect for the battery support pieces, but I needed to "fillet" it to 1/8-inch for the bottom of the PCB.
You may not find foam in your junk box, if you even have a junk box.
In that case, you might try weatherstripping from a hardware or home-improvement store.
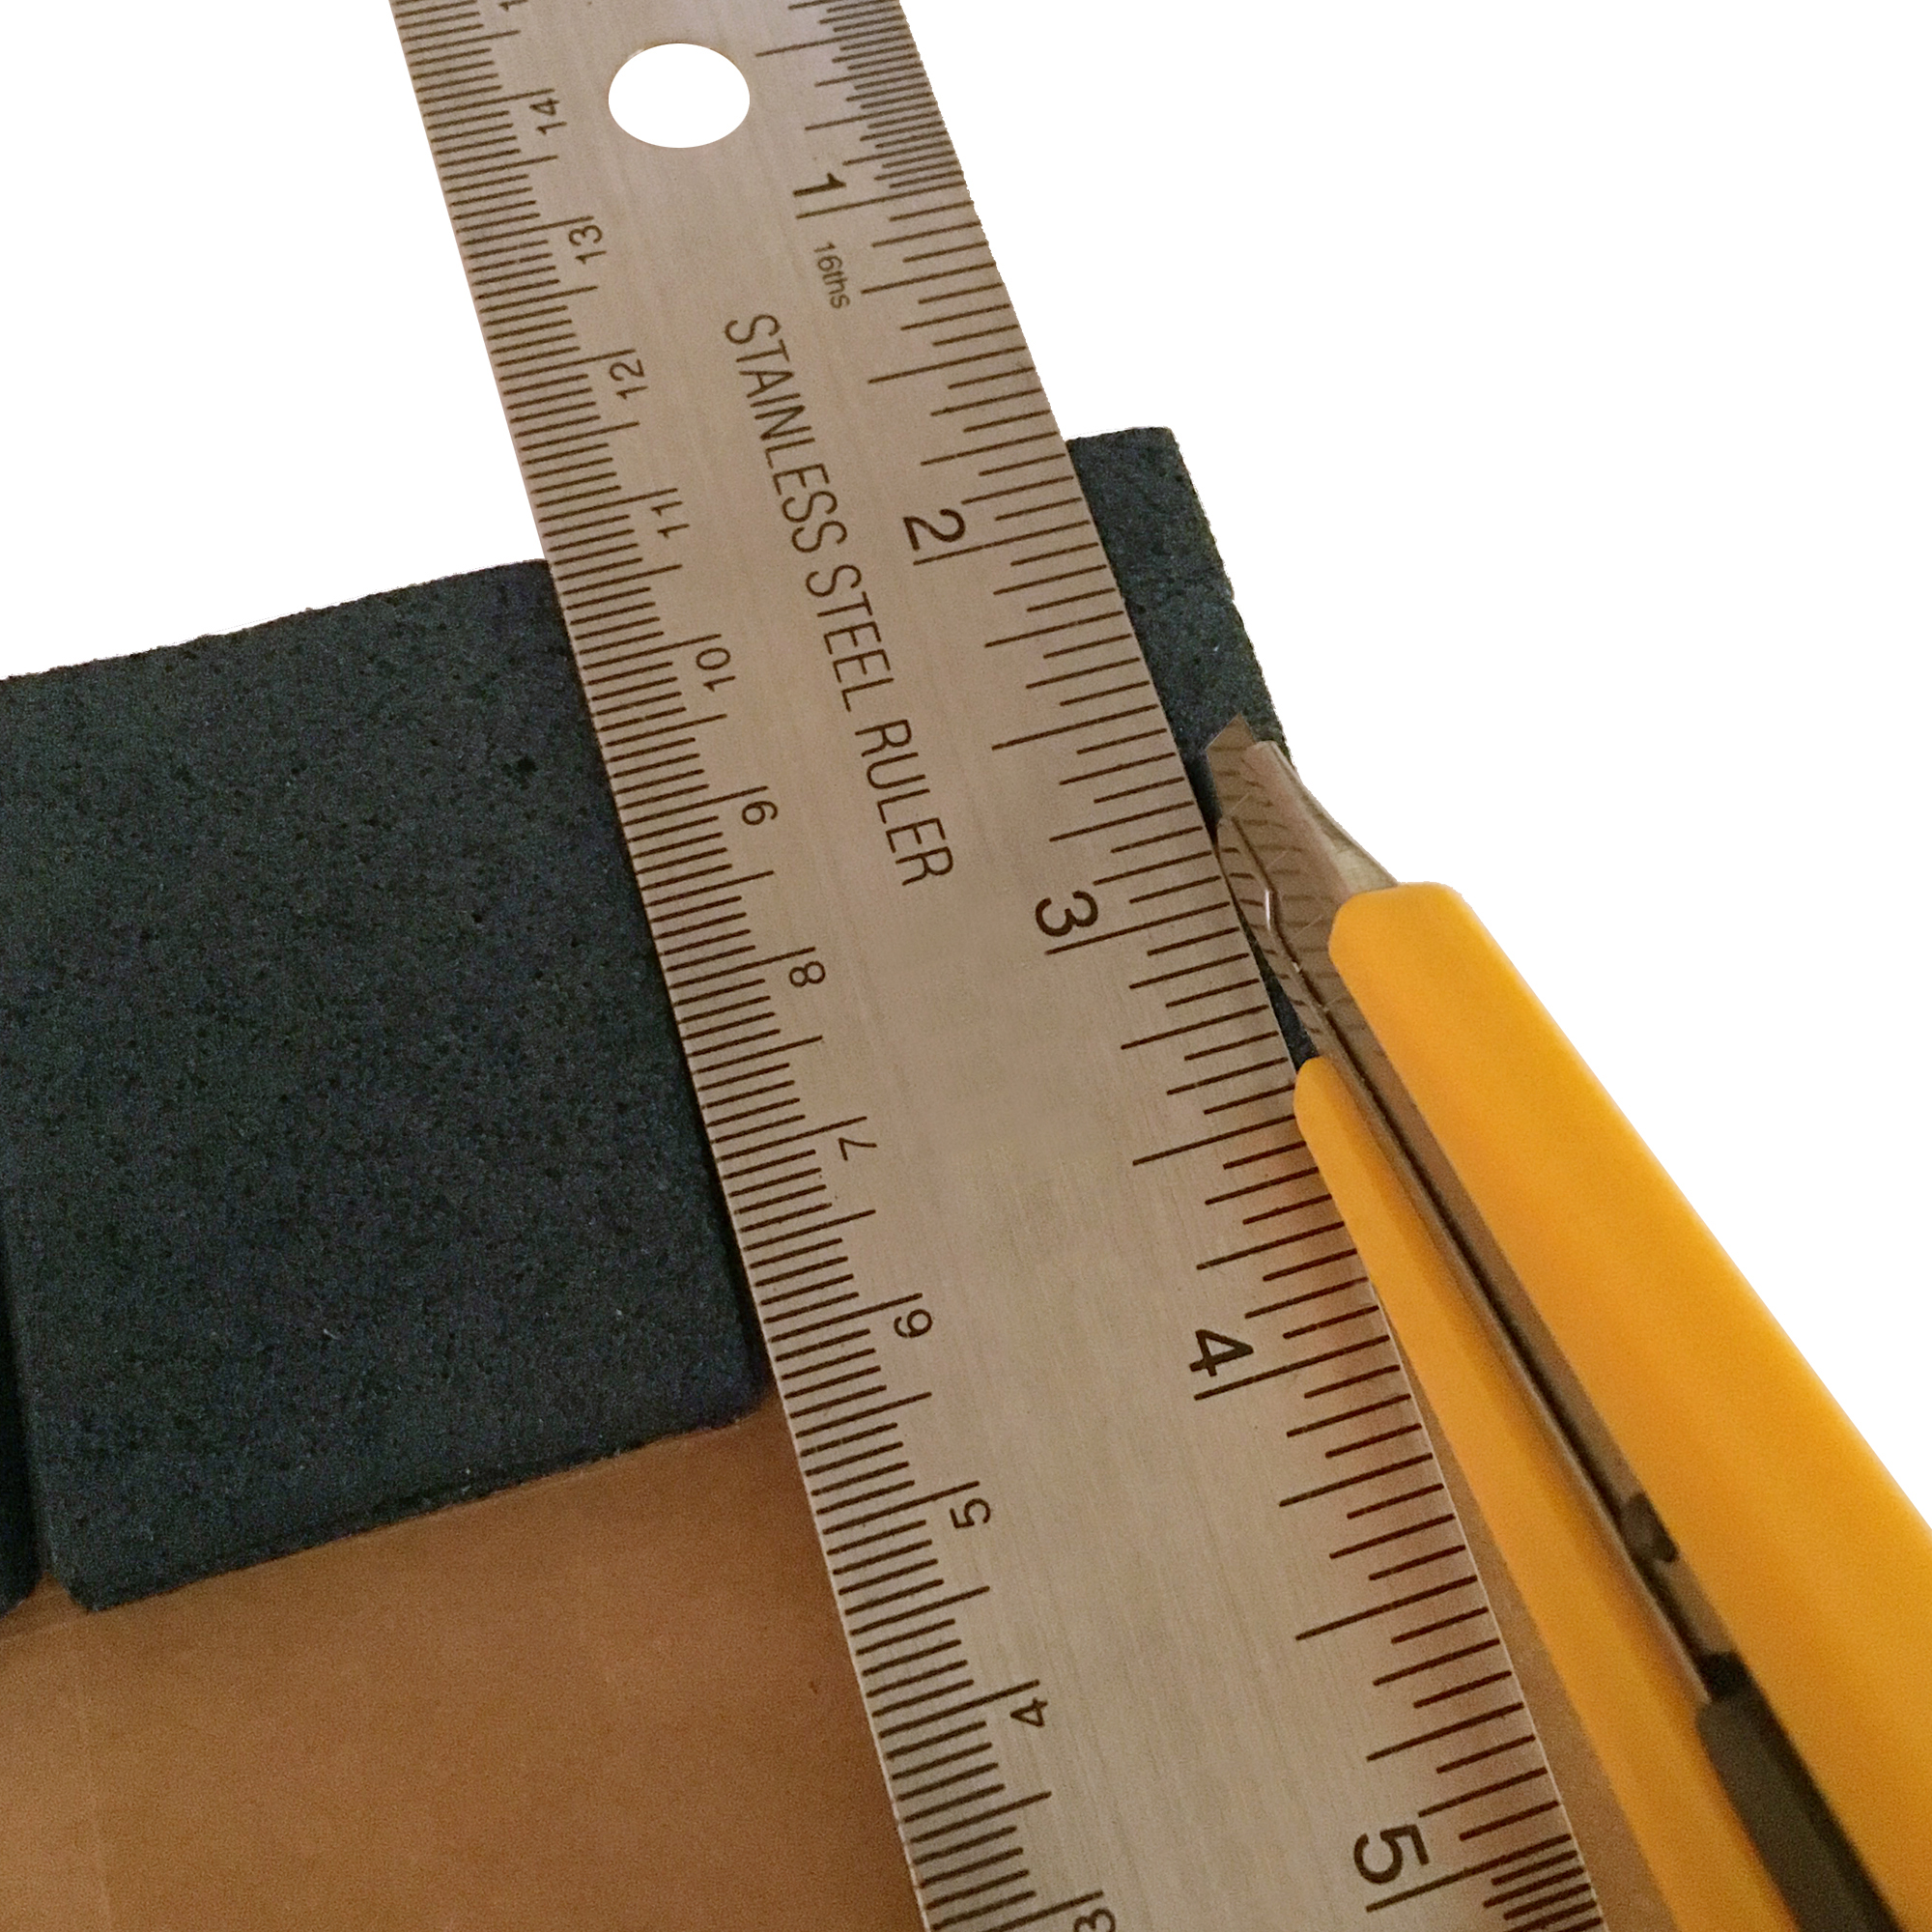
Cutting the foam with Olfa knife and straight edge.
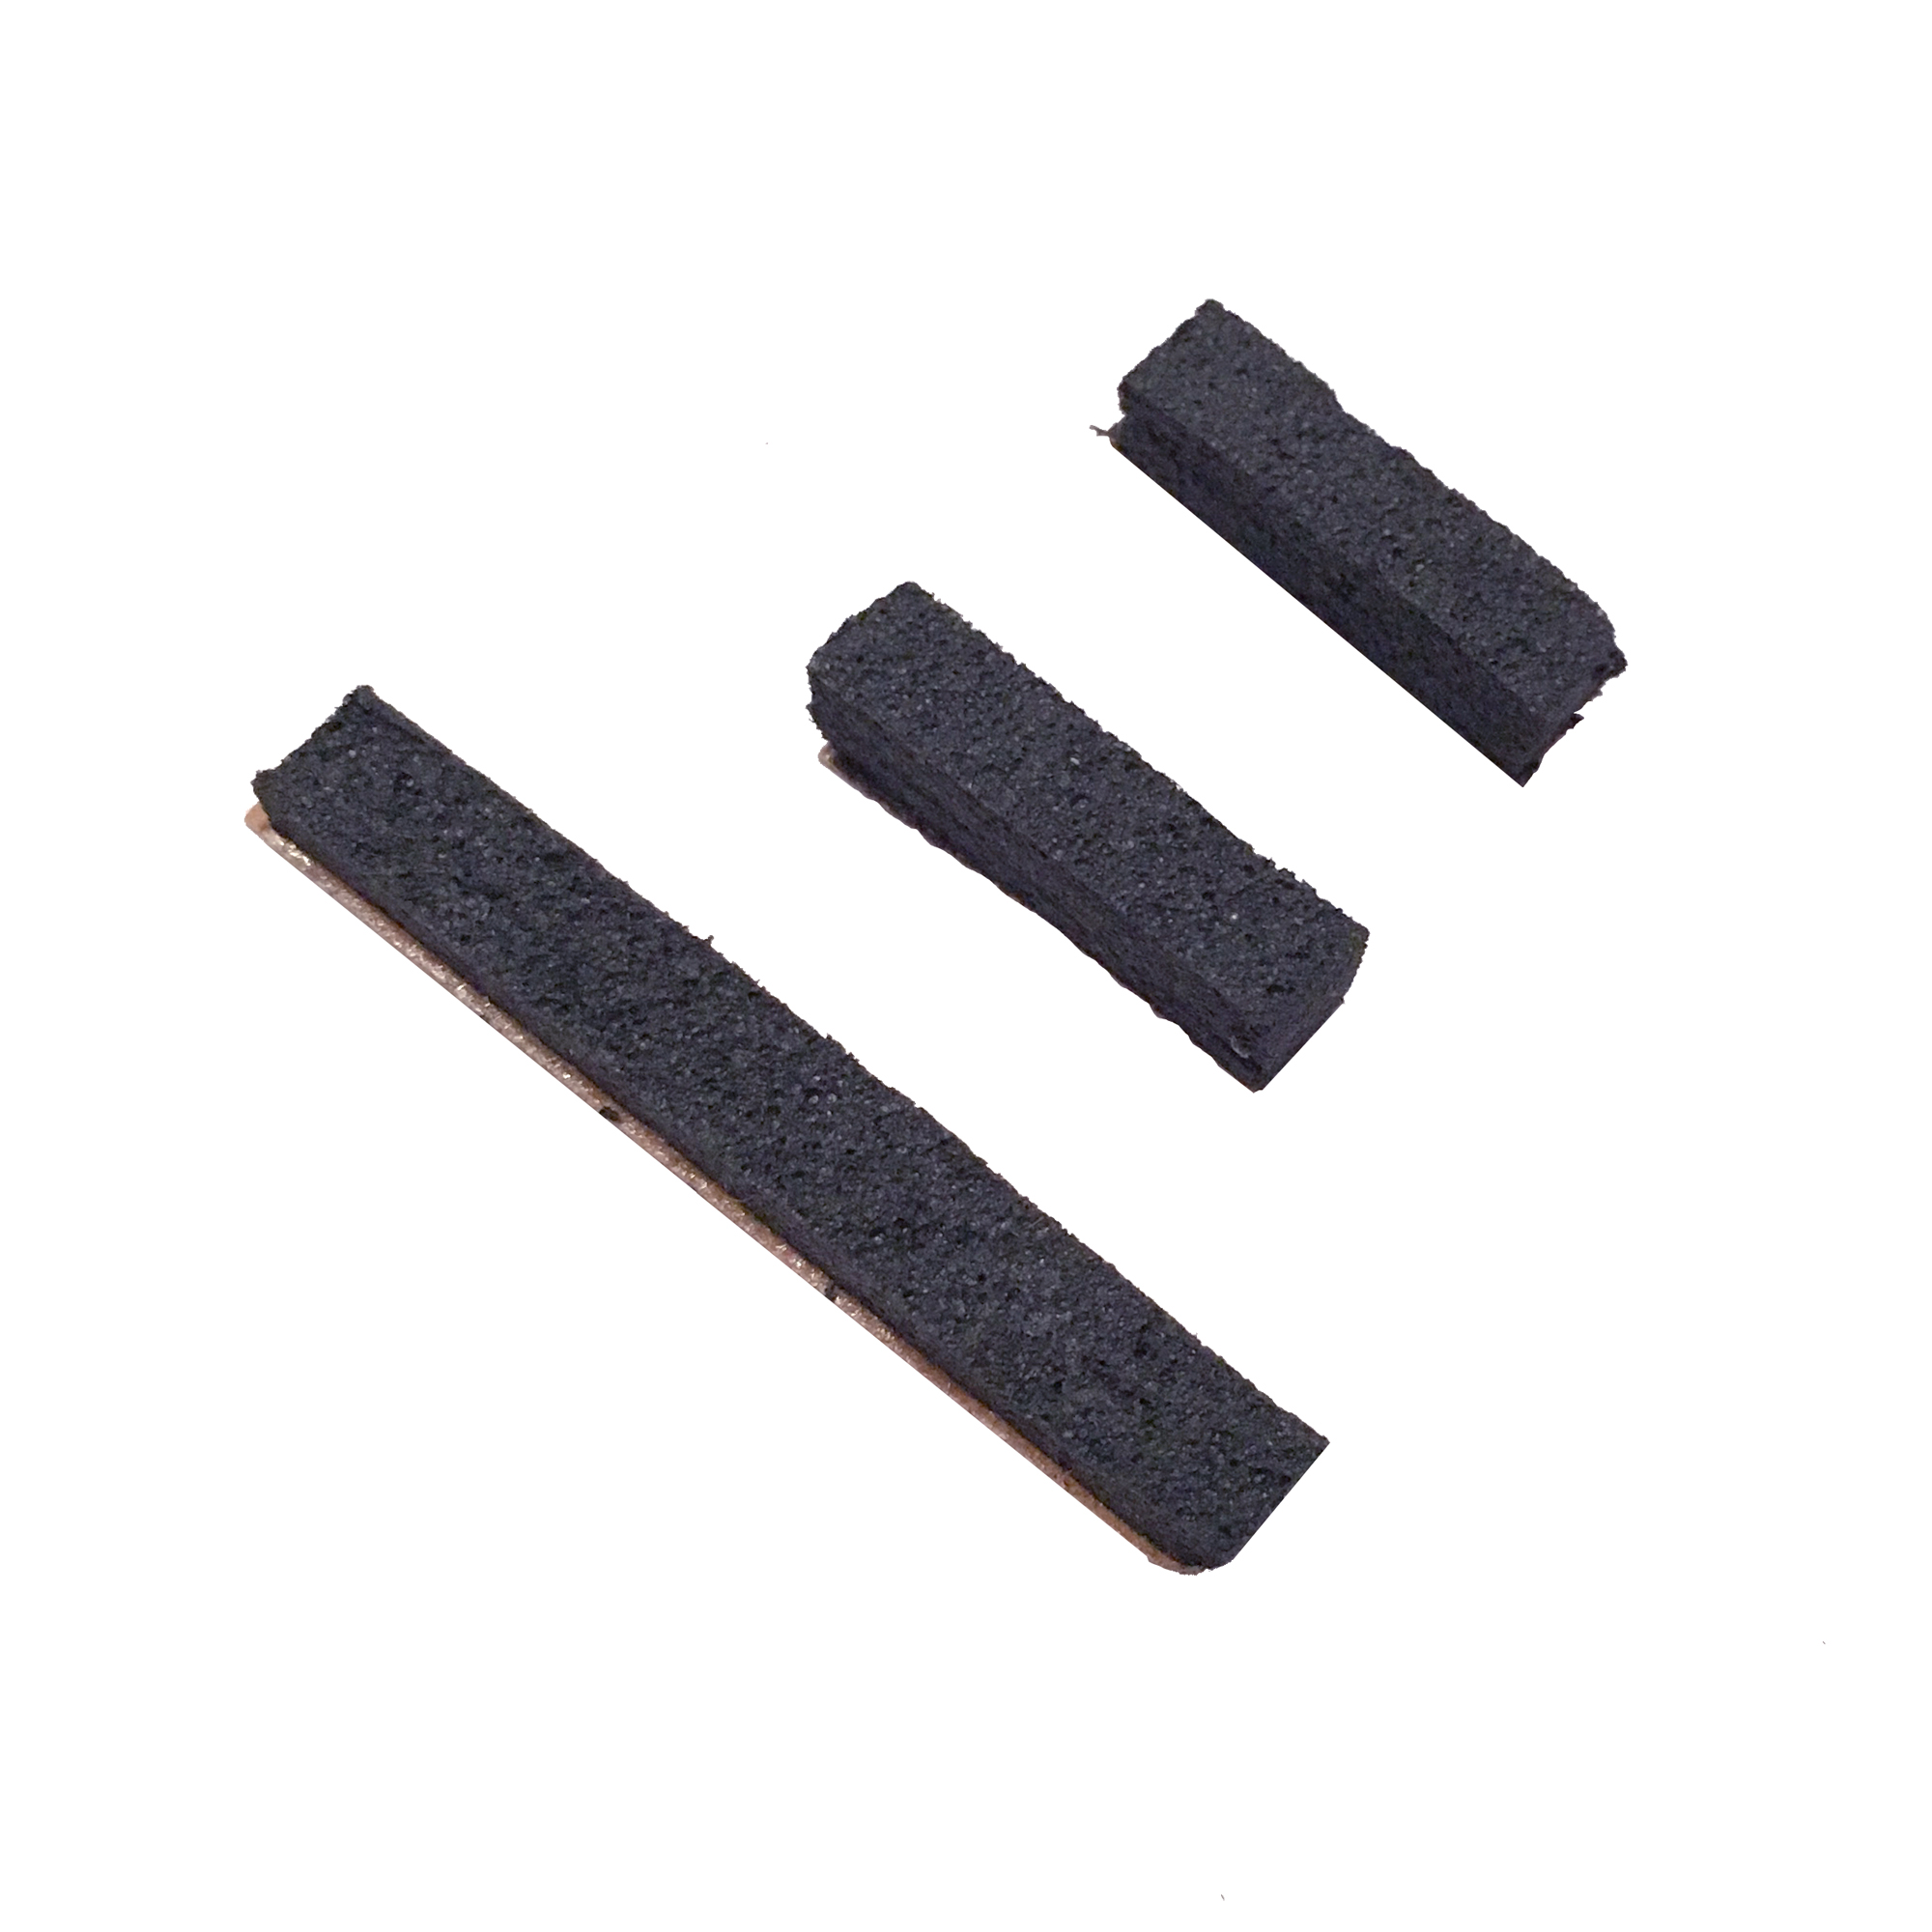
The new replacement foam pieces, ready to adhere.
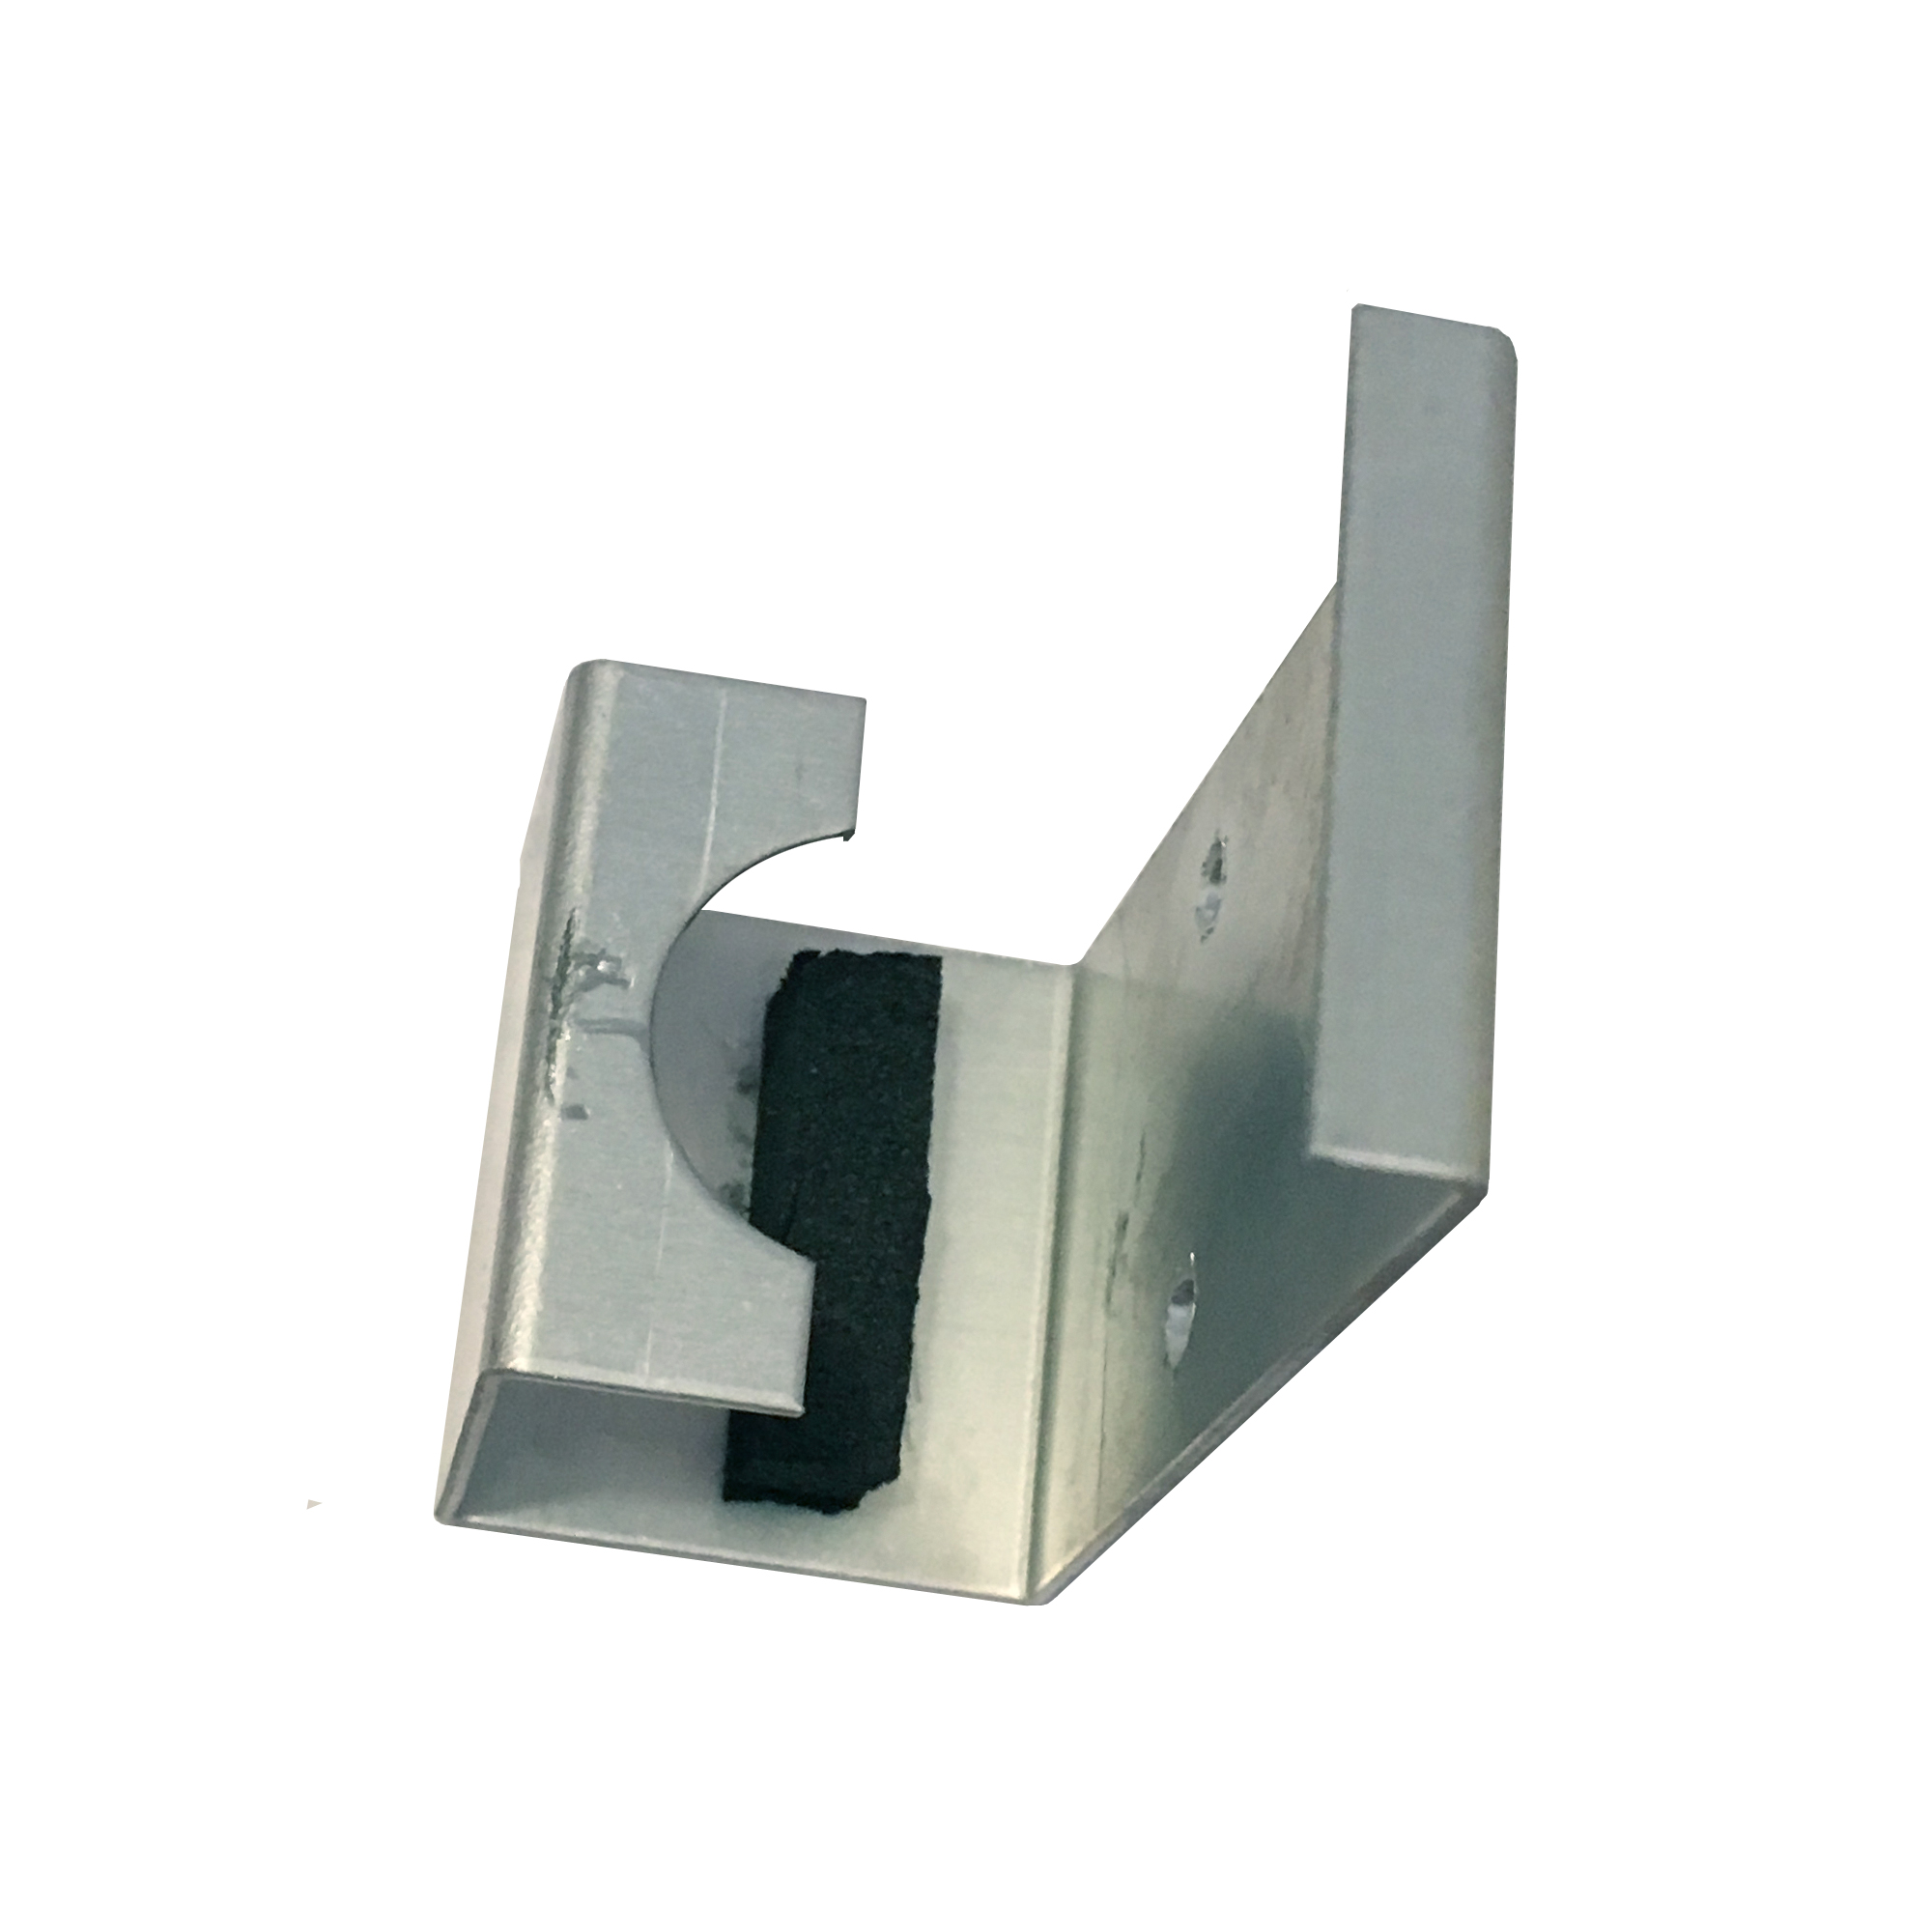
The bracket with new foam attached.
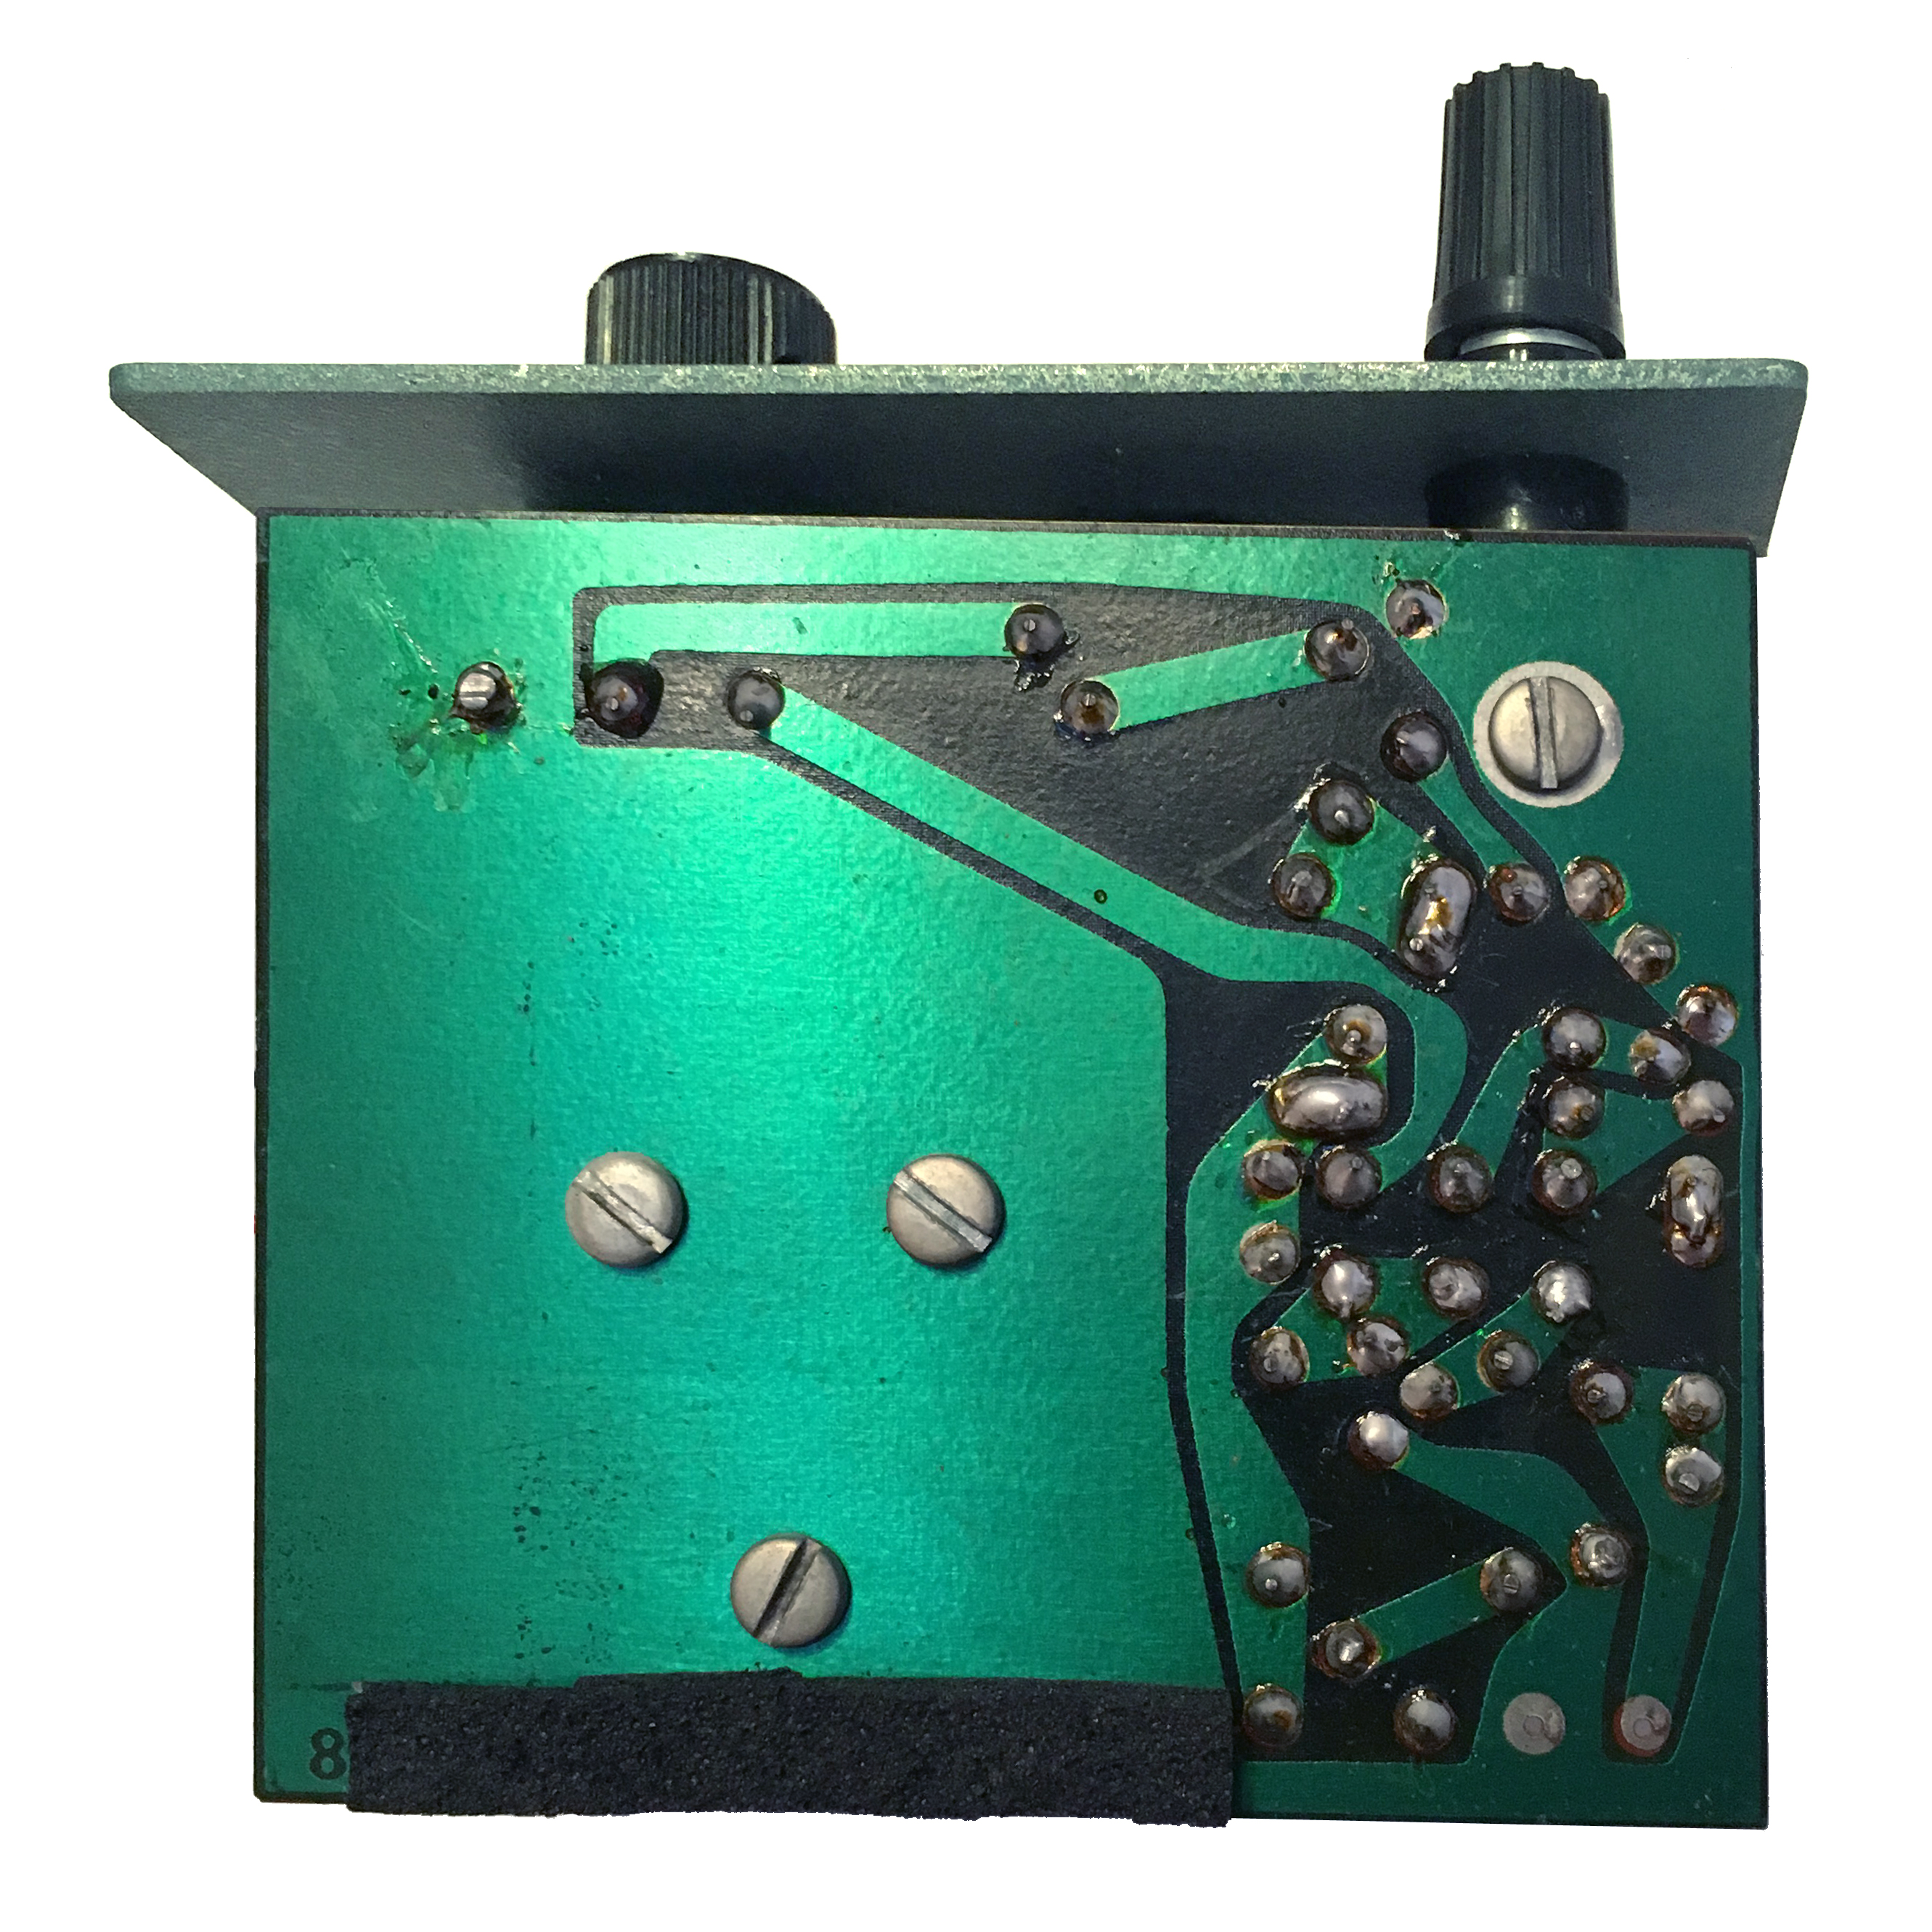
Bottom of the circuit board with new foam attached.
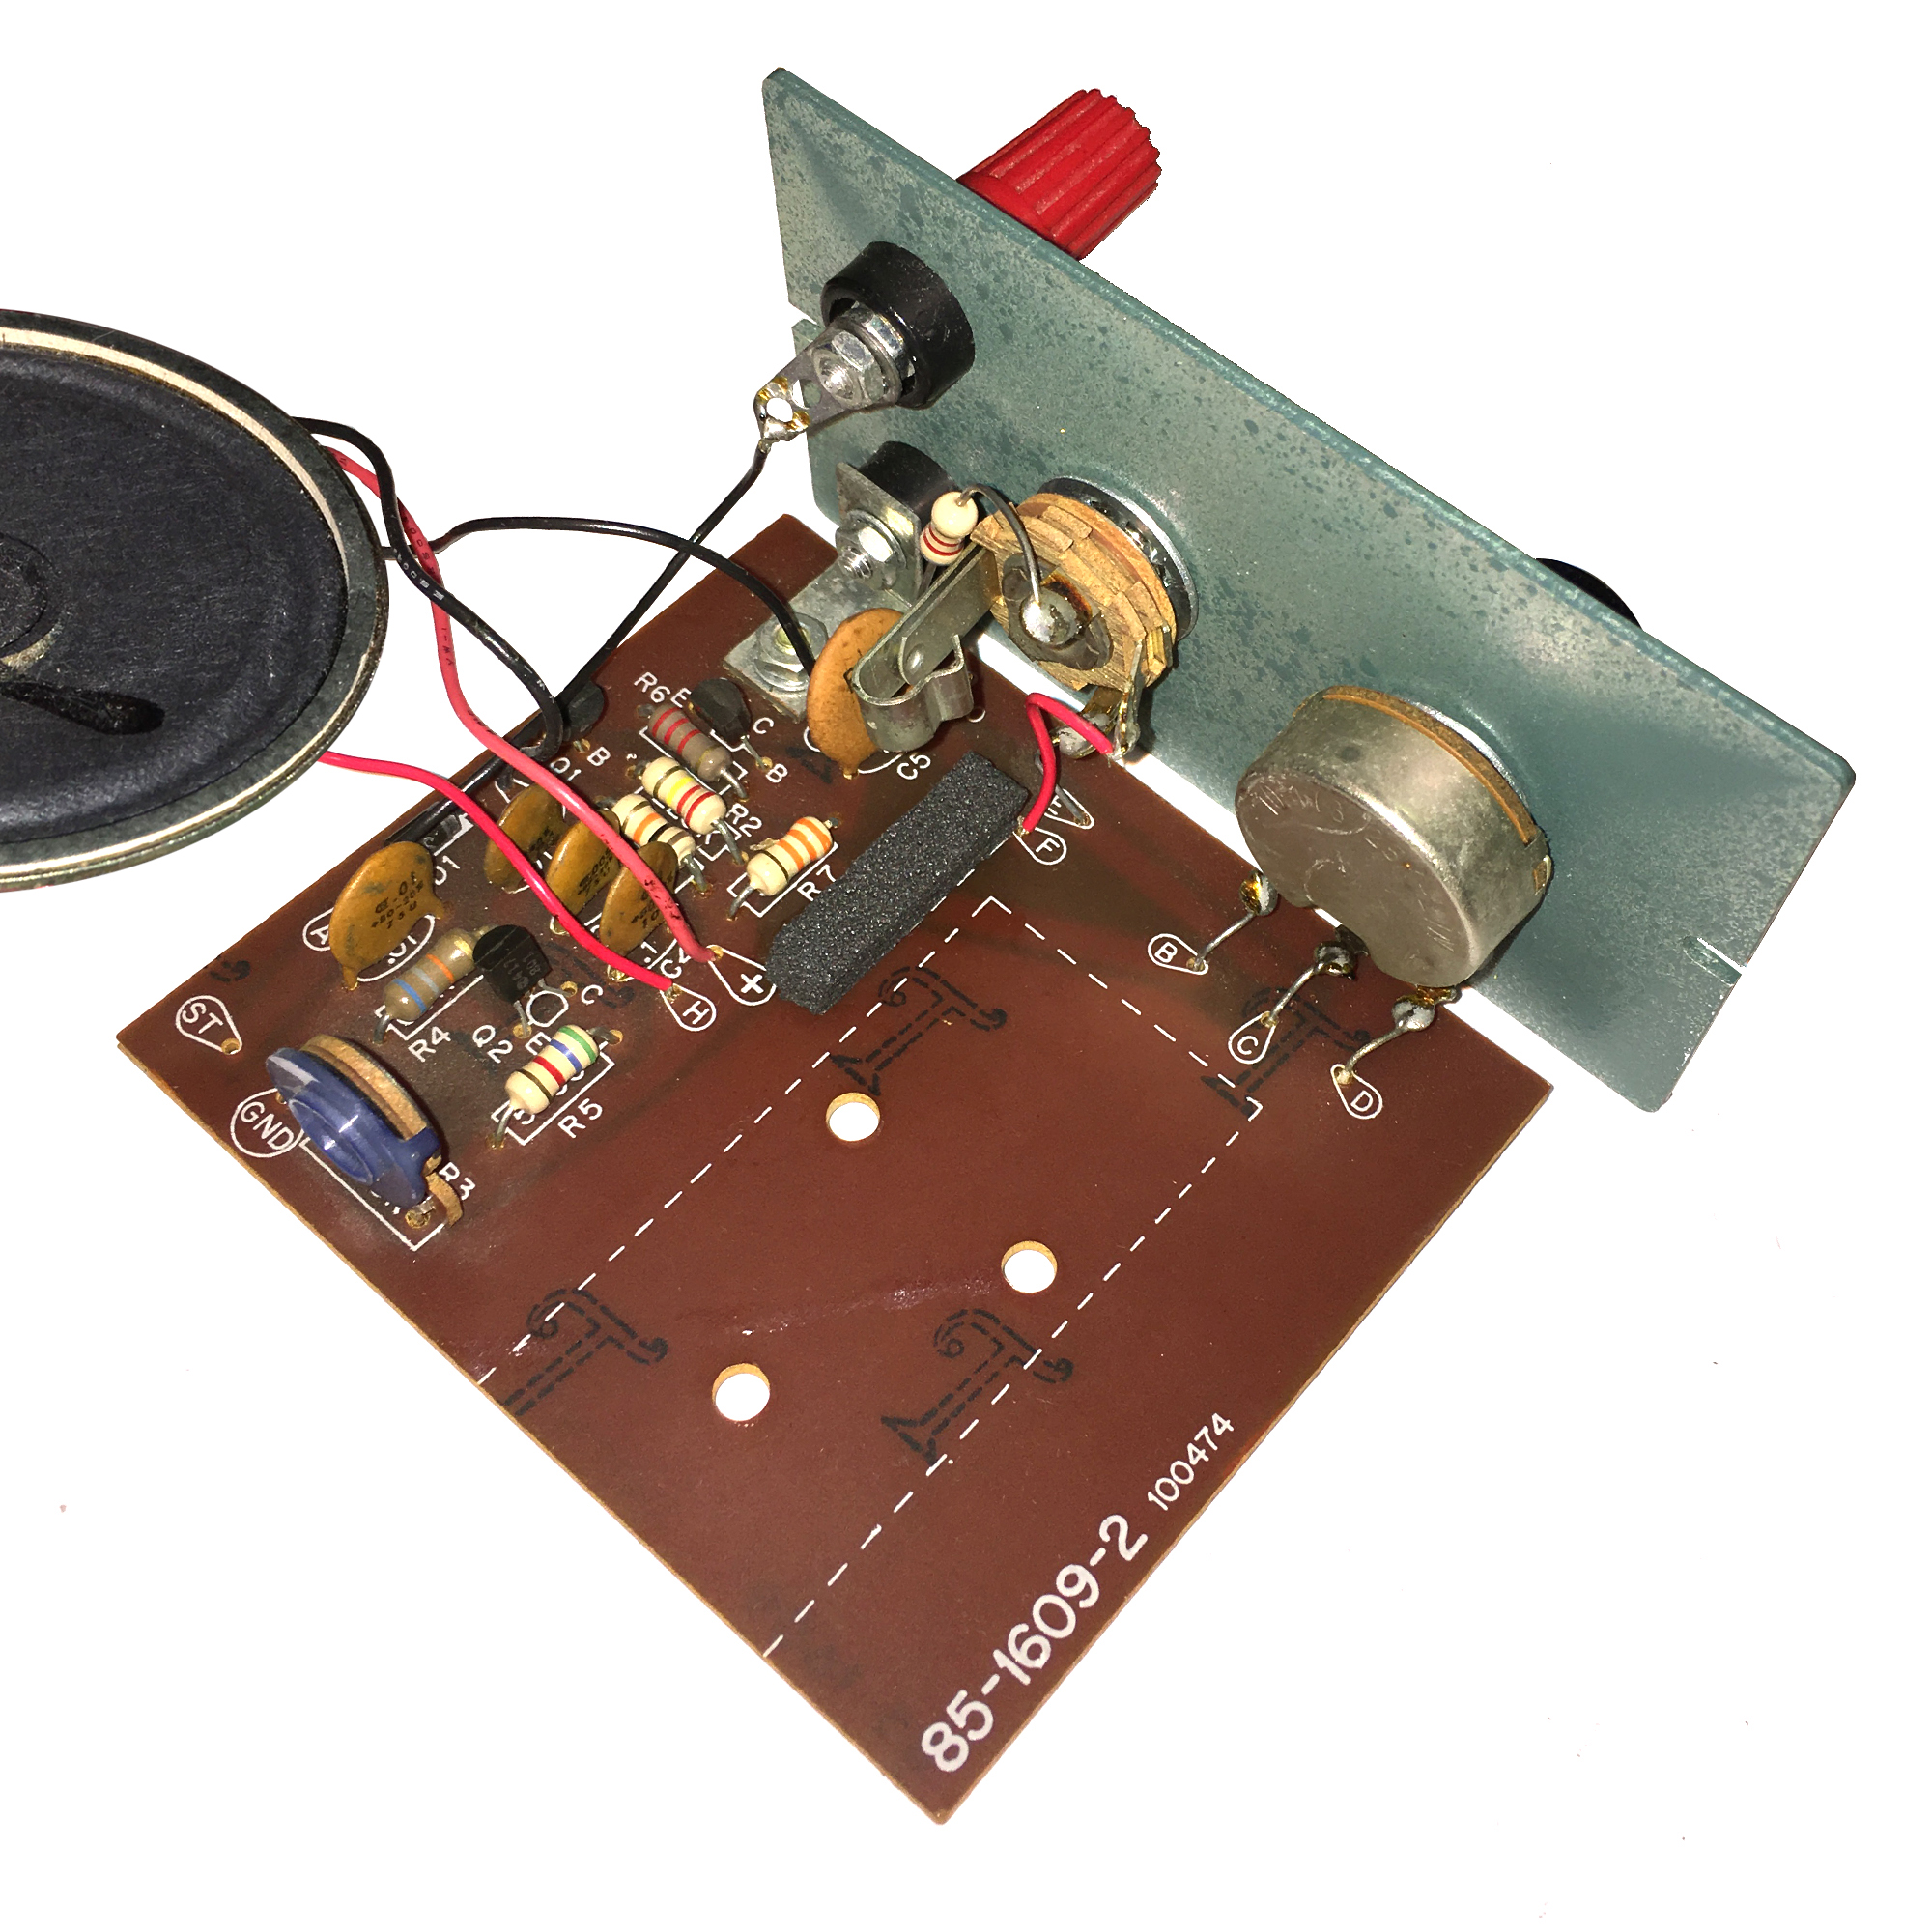
Top of the circuit board with new foam attached.
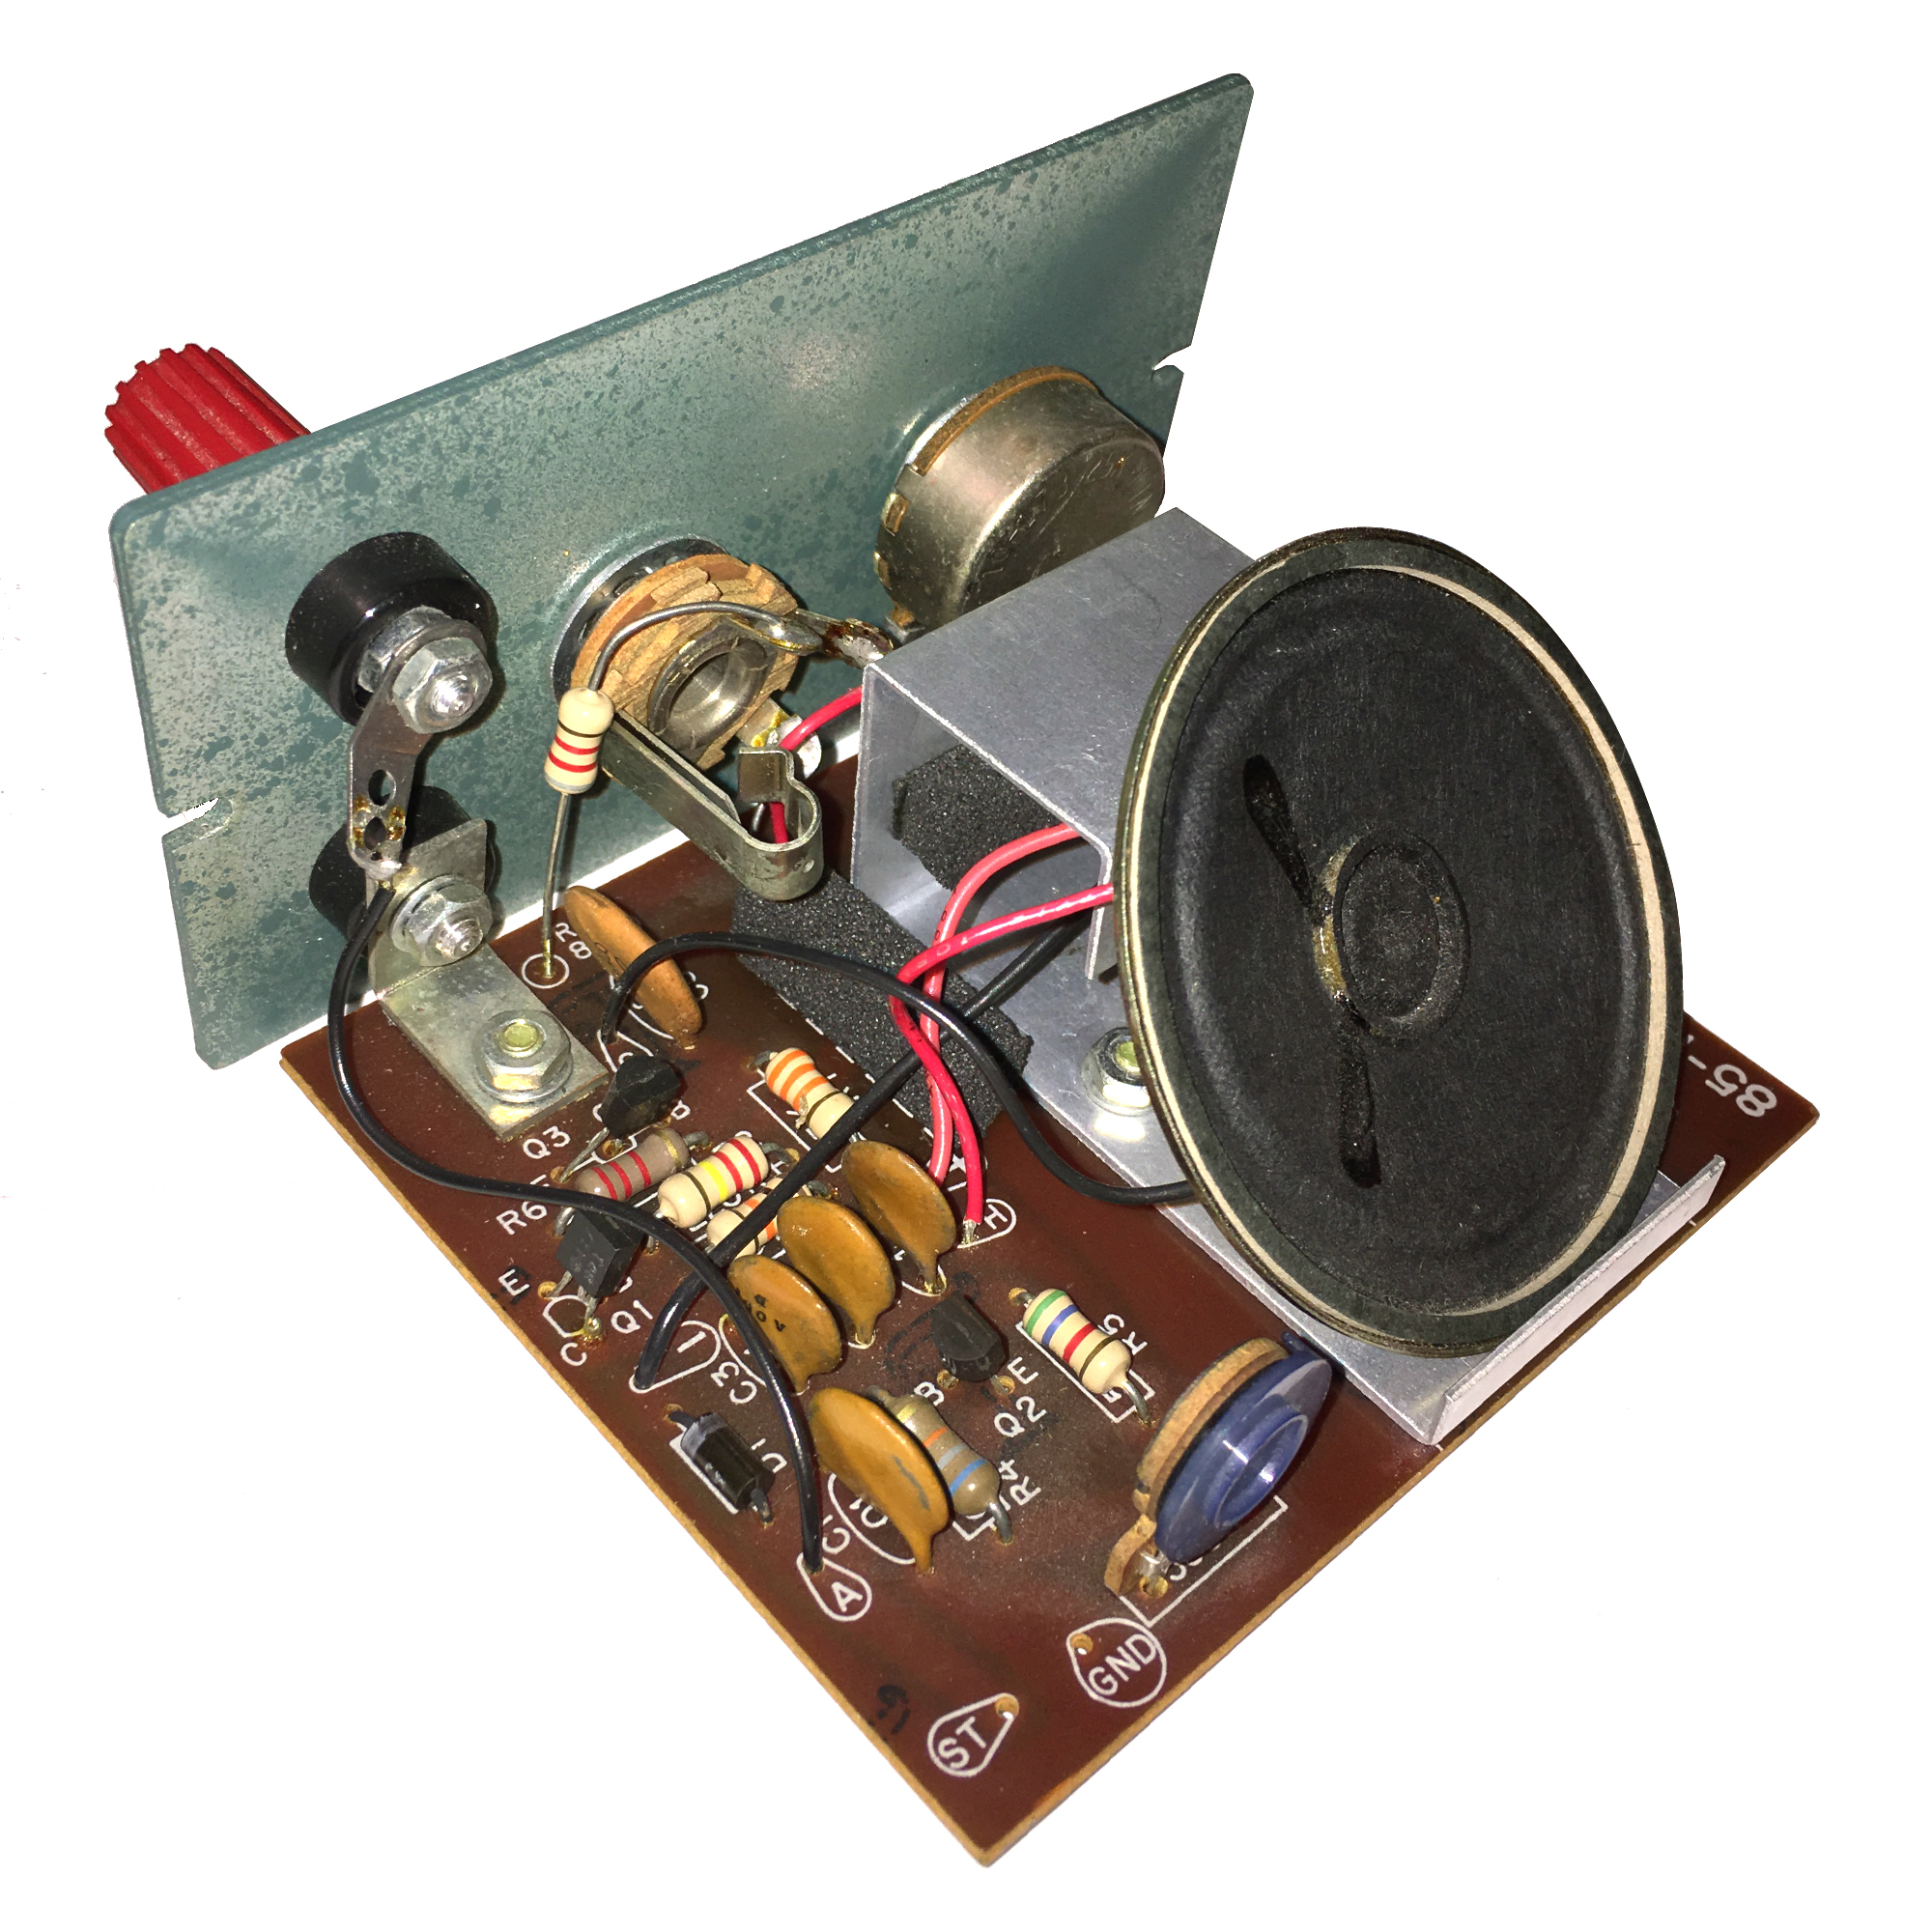
A final view inside showing the new foam in place.